How Often Should Stucco Be Painted?
Stucco, a popular choice for home exteriors, has found its place in many Vancouver residences thanks to its durability, low-maintenance nature, and timeless elegance. However,

How Long Does It Take to Paint a House Exterior
The aesthetic appeal of your house exterior increases with proper painting. But more than this, paint protects your house from the weather. Trim, siding and all painted

Can Stucco Be Painted? Yes, But…
If you currently have a stucco house or considering a stucco home, you may be wondering if you can paint stucco. Yes, stucco can be

Can You Put Stain Over Paint? 8 Tips and Tricks for a Beautiful Finish!
Are you tired of the way your furniture or woodwork looks but don’t want to spend hours stripping off the old paint? The good news

Is It Better To Spray Or Roll Exterior Paint?
Exterior painting can significantly transform a home’s appearance, making it look great and protecting it from the elements. It also increases the value of your

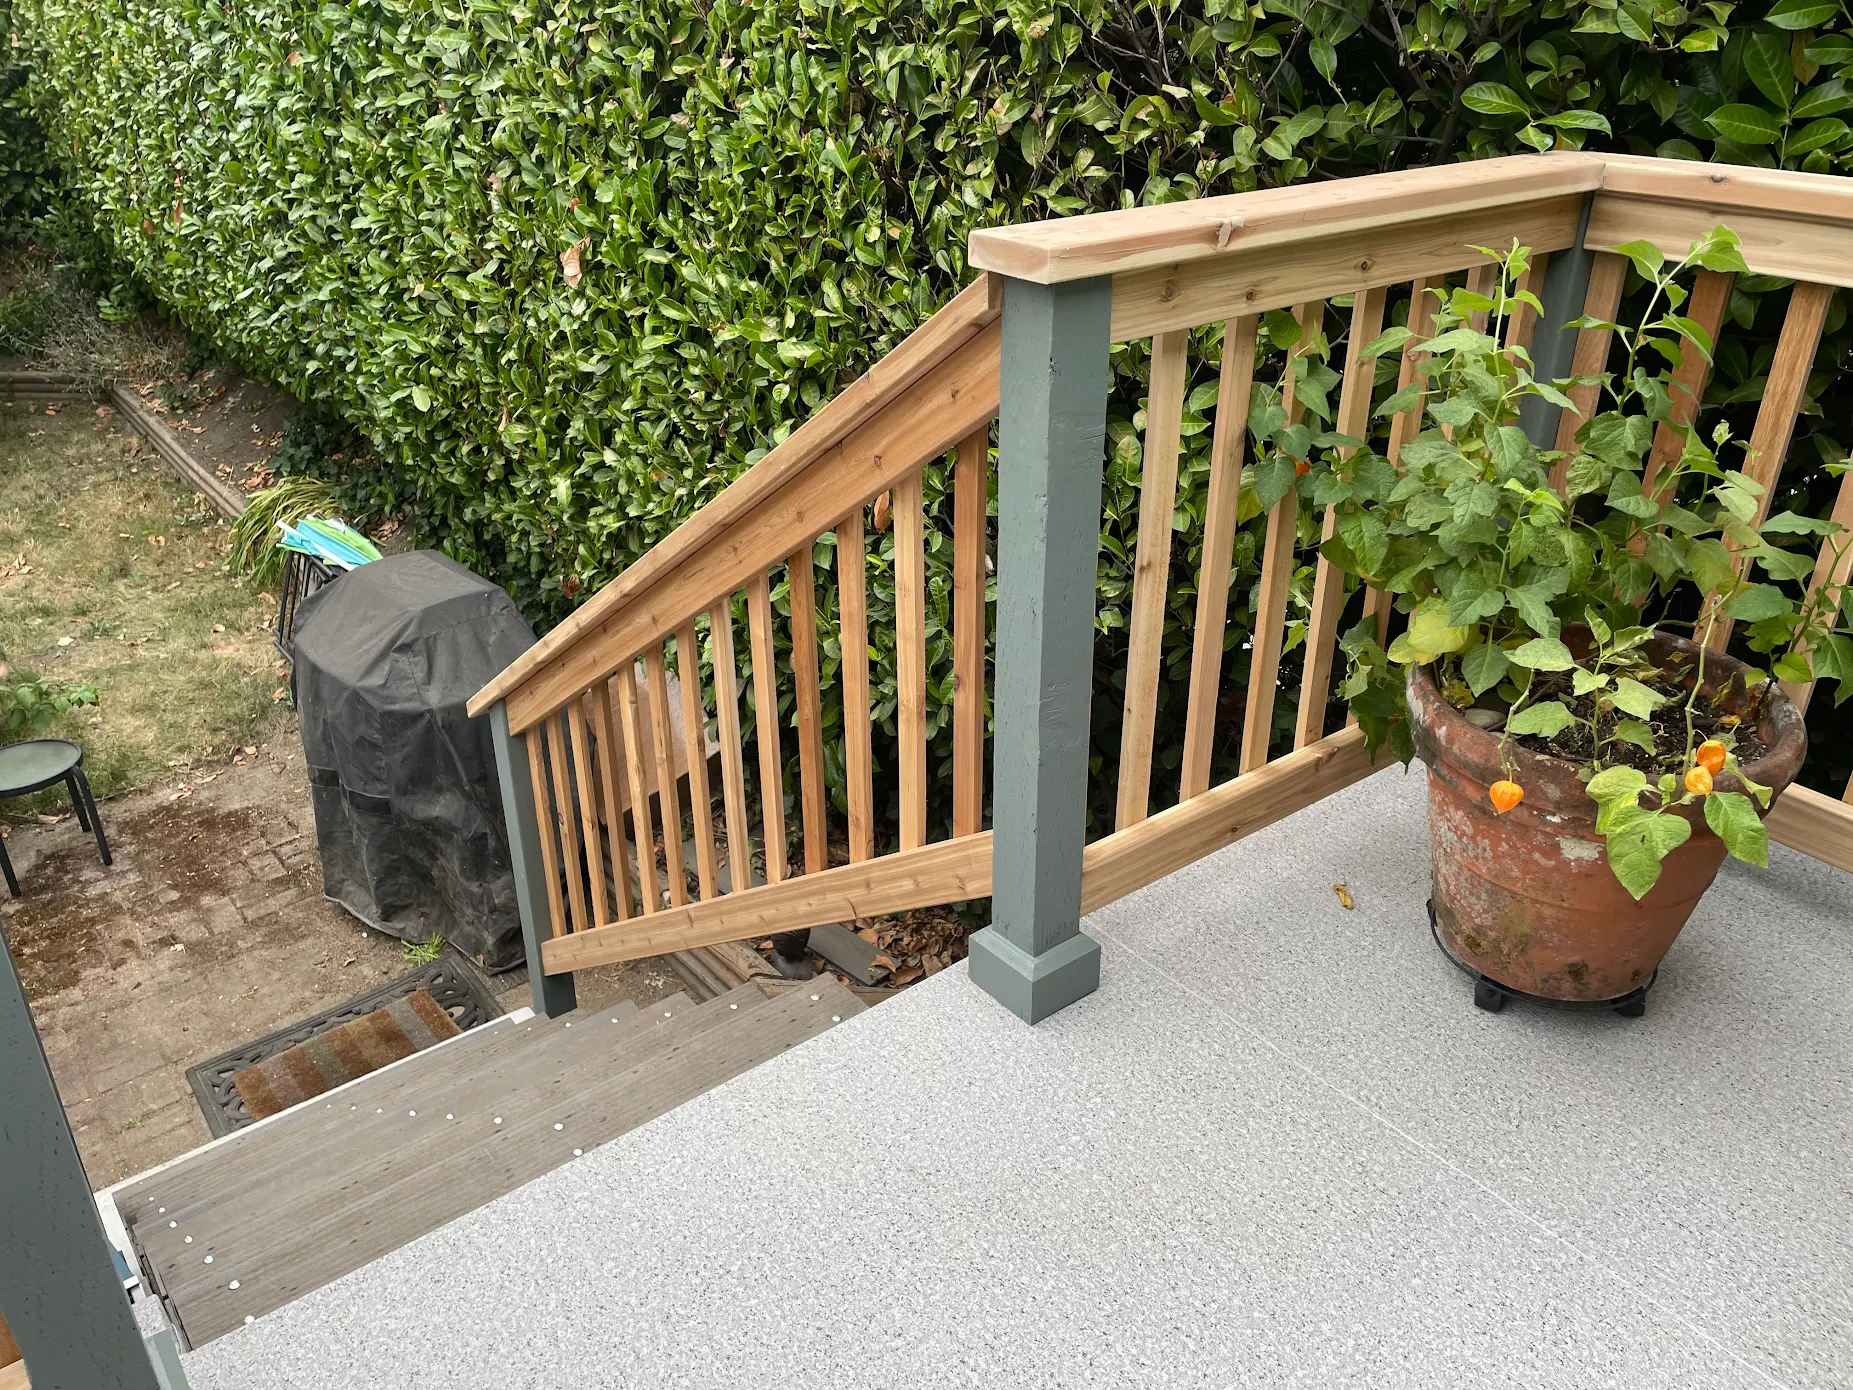
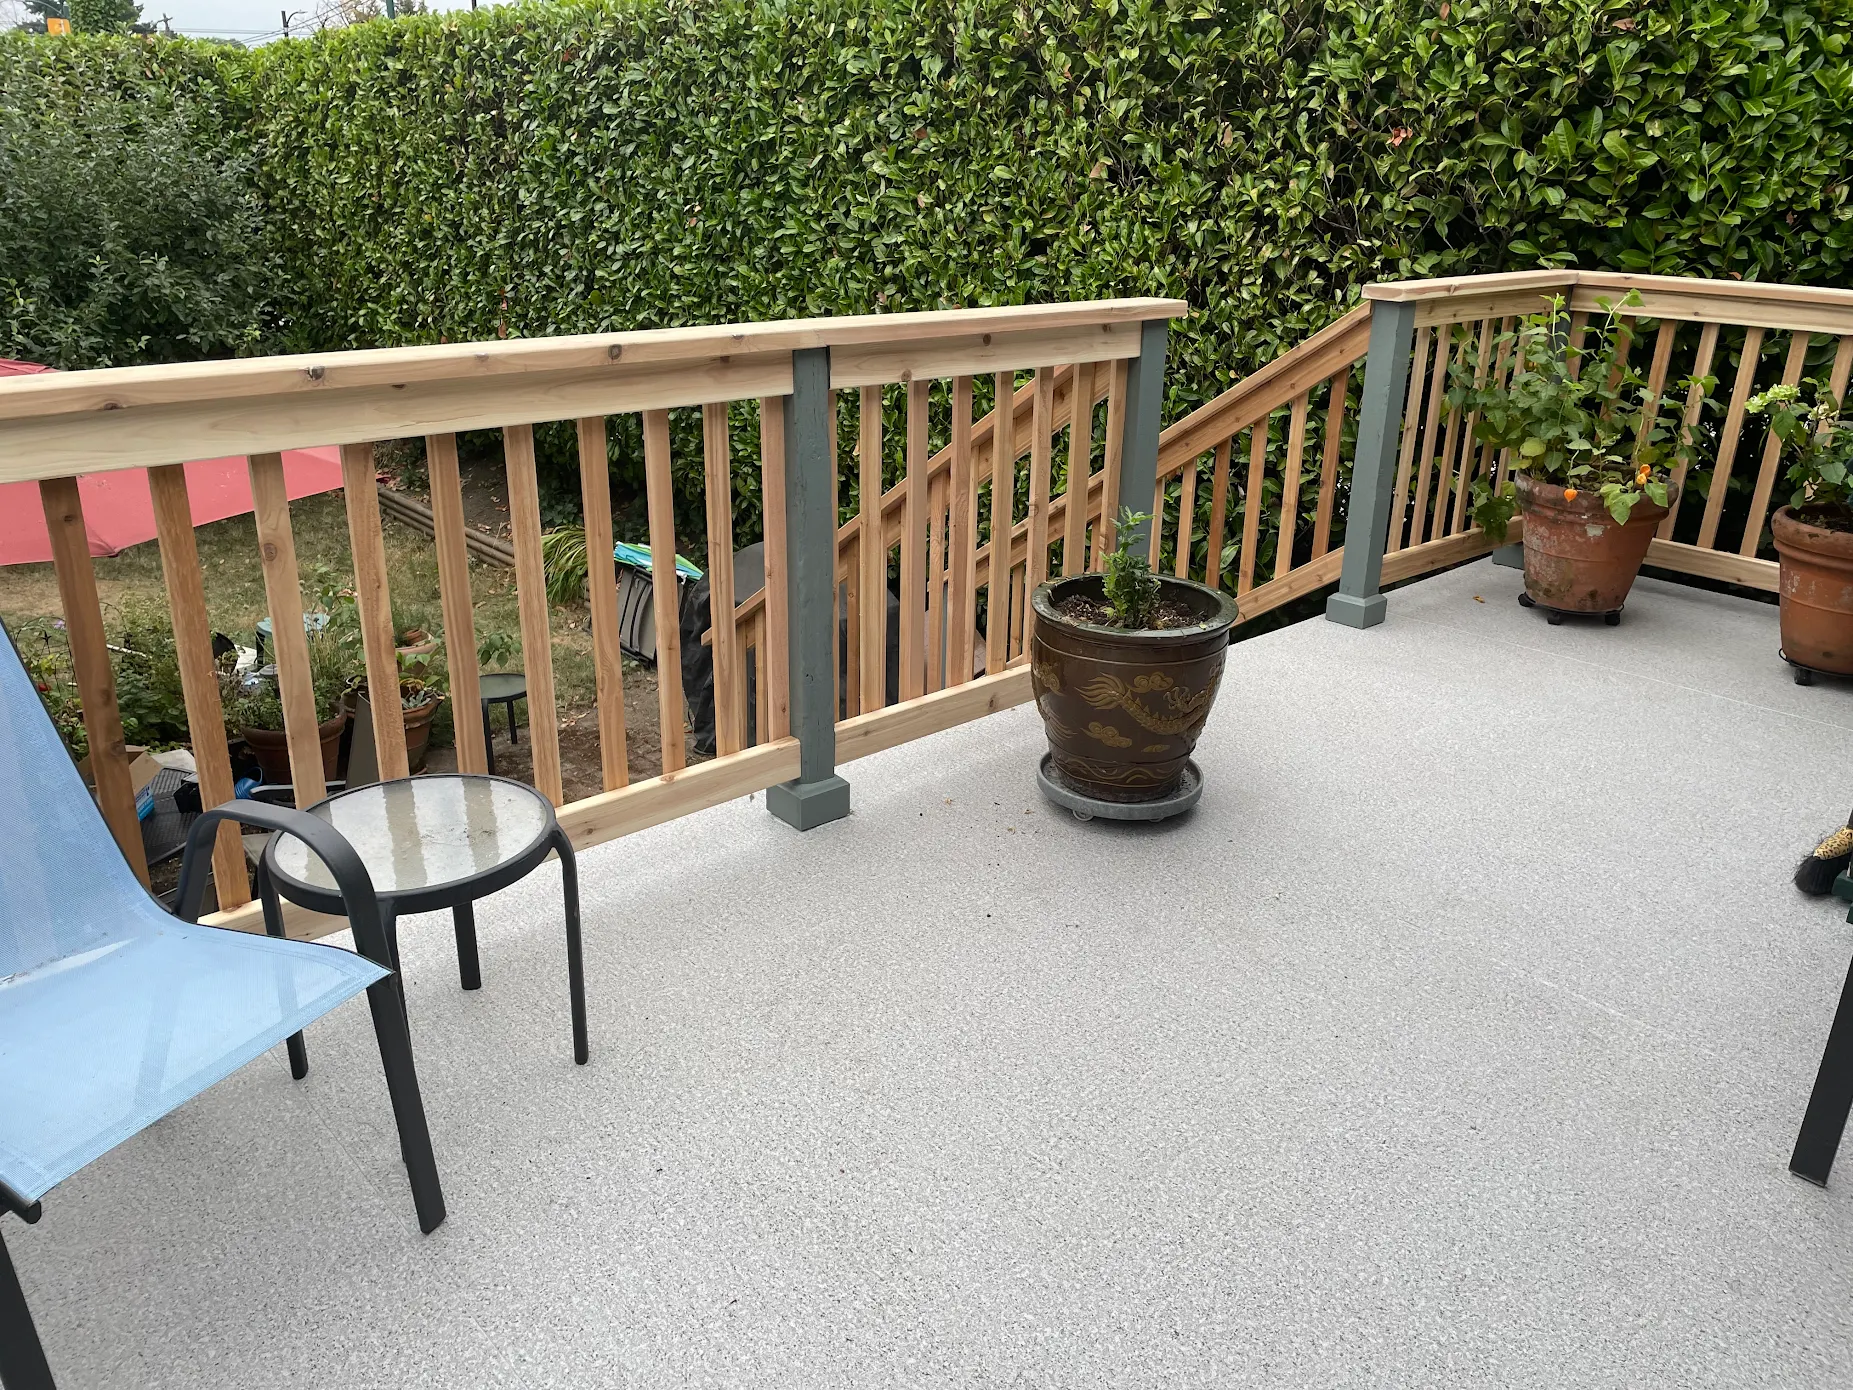
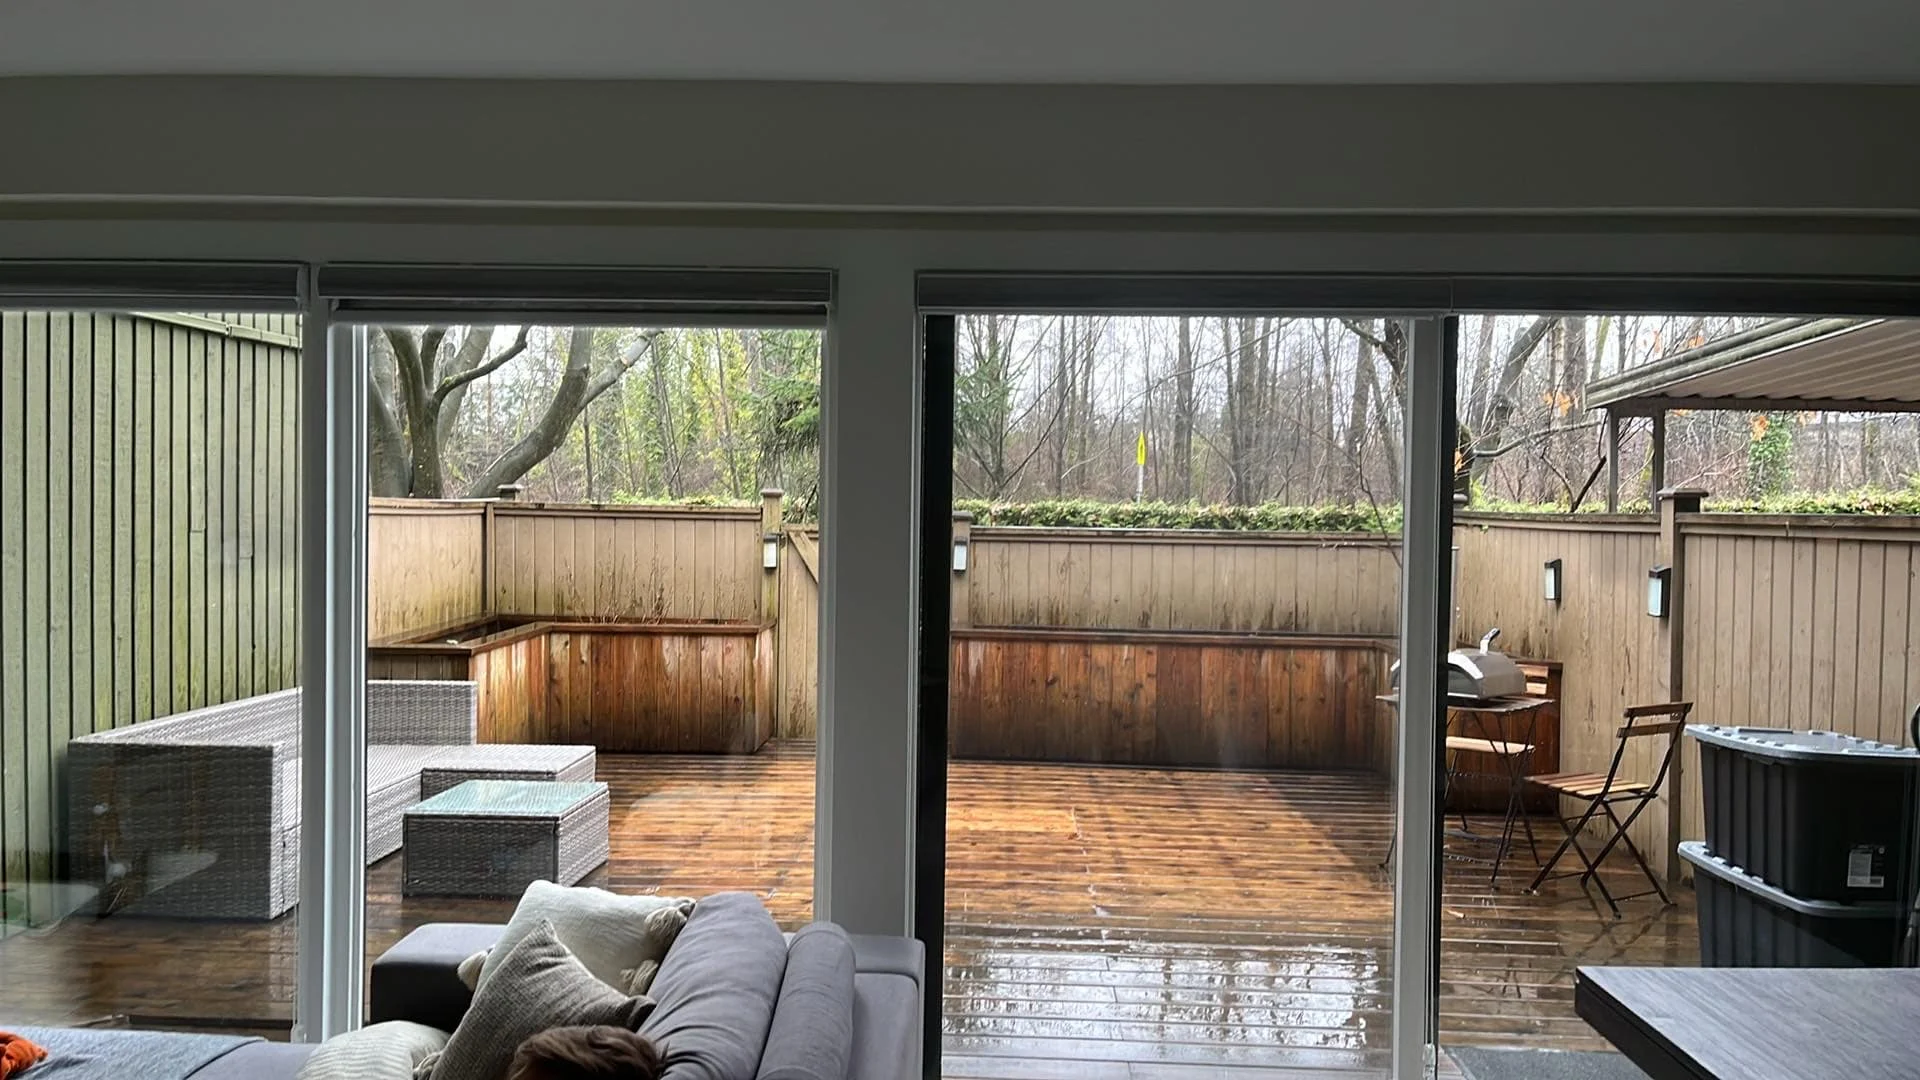
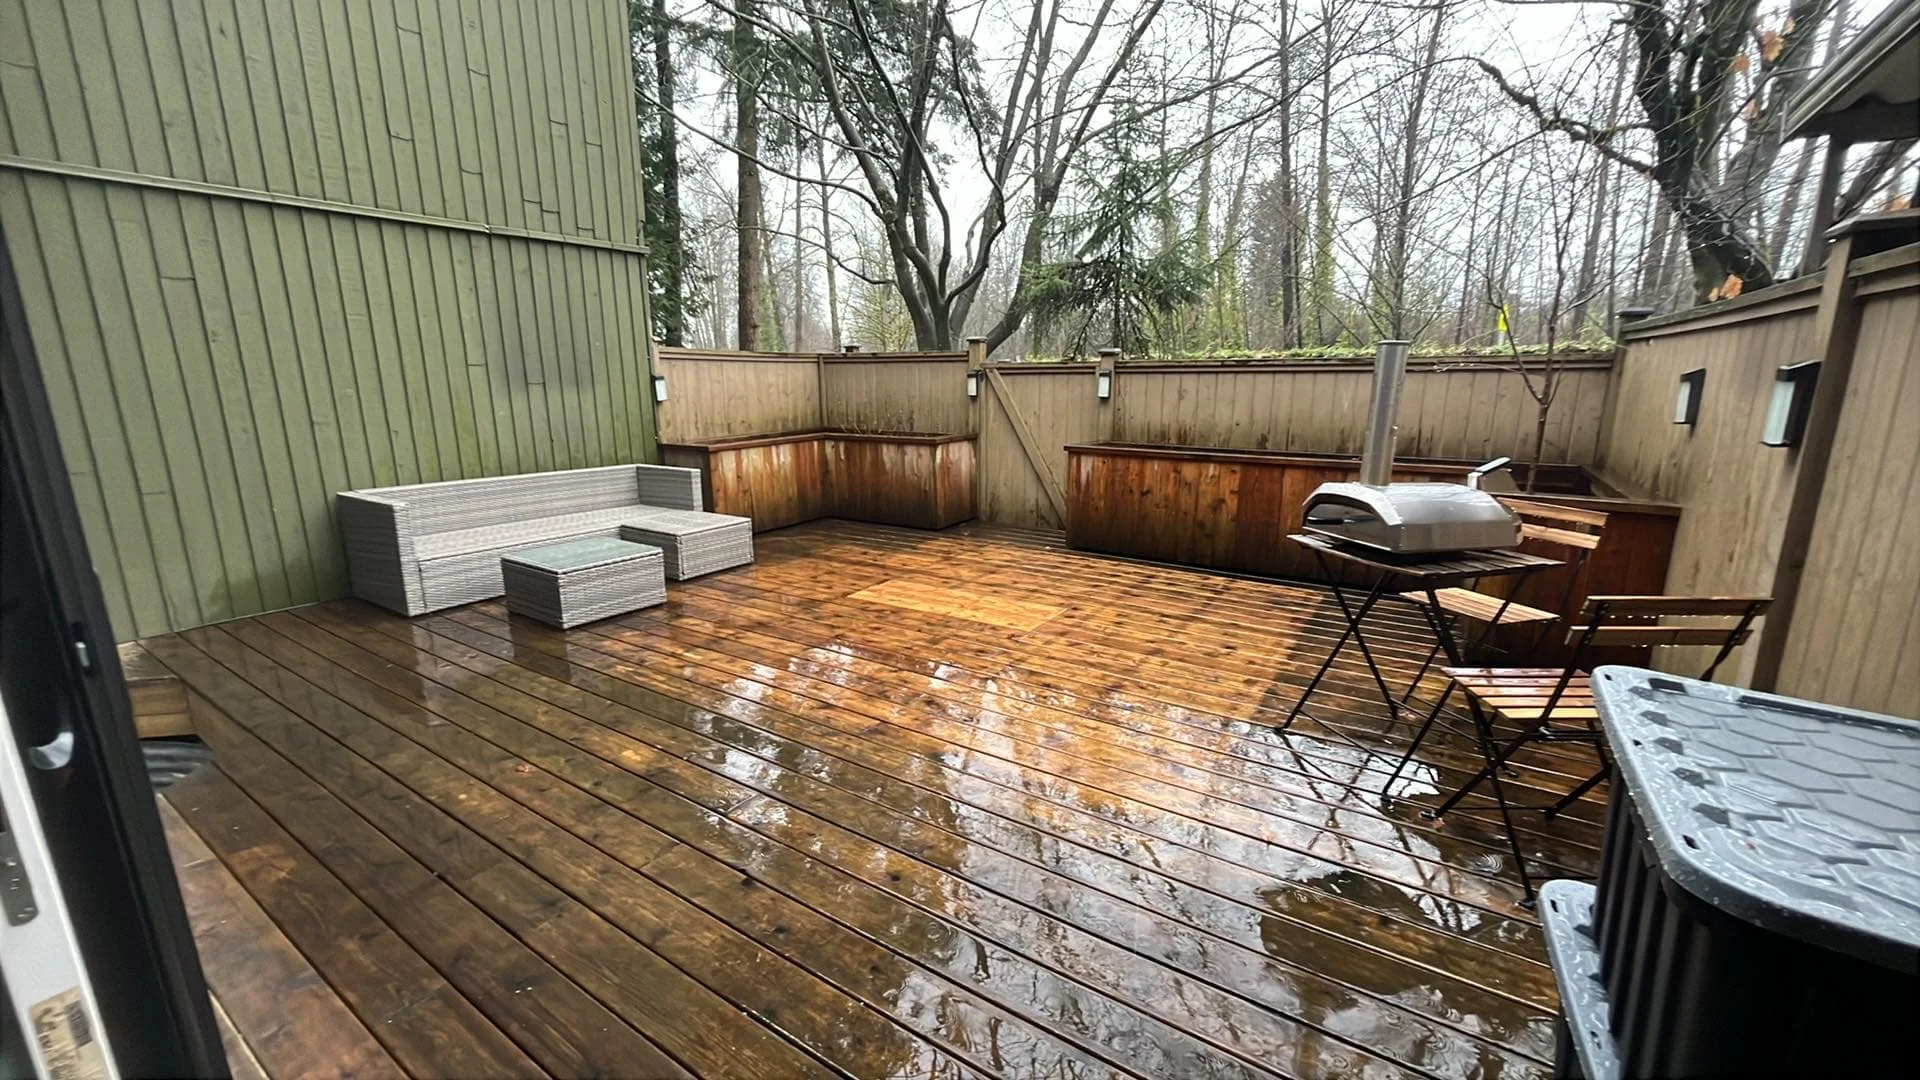
How Often Should You Paint Your Deck?
Many homeowners ask themselves this question — how often should you paint your deck? Let’s cut to the chase and get right to the point.