Are you tired of the way your furniture or woodwork looks but don’t want to spend hours stripping off the old paint? The good news is that you can revamp your old pieces by putting a stain over paint to achieve a beautiful new finish!
How do you choose the right stain? And how do you make sure you apply the stain correctly and achieve that stunning result? Let’s go through the process of staining over a painted surface step-by-step!
But first, let’s discuss the basics.
- All About Staining
- When to Stain Over Paint
- Tools and Materials
- Applying Gel Stain to Painted Wood: A Step-by-Step Procedure
- Weather Considerations
- Common Challenges DIYers Encounter When Staining Wood
- 8 Expert Tips and Tricks for a Beautiful Finish
- DIY vs. Professional: When to Get Help from the Pros
- Frequently Asked Questions
All About Staining
Staining is a popular method for wood lovers who want to showcase the natural beauty of raw wood while keeping it protected from the elements. Not only do stains shield your wood from the weather, but they also bring out the beautiful natural patterns and colours of the wood grain.
But what if your furniture is already painted or has an existing stain?
Many people seem to think that you can’t do anything about it unless you strip all the latex paint off and turn it into bare wood. But here’s the catch—with the right type of stain, you can easily breathe new life into your painted wood pieces!
When to Stain Over Paint

Picture this: You’re visiting your grandma’s house and come across old wooden kitchen cabinets that have been sitting in the basement for years. You notice these kitchen cabinets have seen better days, but you can’t help but imagine how beautiful they could look in your apartment.
The only problem? The cabinet has been painted an outdated, dark colour, and the paint job doesn’t fit your style at all.
Don’t worry—you don’t have to give up Grandma’s cabinets just yet! With the magic of the stain-over-paint technique, you can use gel stain to give new life to old furniture.
Choosing the Right Stain: The Magic of Gel Stains
Staining protects wood by sealing its pores and preventing water damage and UV rays that cause discoloration.
The secret to staining is in the pigmented liquid that seeps into the wood’s surface. And stains can be categorized into three main types: oil-based stains, water-based stains, and gel stains.
Water-Based
Water-based stains are a type of wood stain that can be considered environmentally friendly because they use water as their primary solvent instead of oil.
These stains can be applied to different types of wood surfaces. However, they do not penetrate the wood grain as deeply as other types of stains, which can result in a less natural-looking finish.
If too much water-based stain is applied, it can raise the wood grain. To fix this minor issue, you will need to lightly sand the wood again after staining, which is an extra step that could be avoided. Despite these limitations, water-based stains can still be a good choice for those who want a stain that dries faster and has a less noticeable odour.
Oil-Based
Oil-based stains offer a durable finish by deeply penetrating the wood fibres and enhancing their natural wood grain and colour. This results in a more natural-looking finish with greater depth and colour variation compared to water-based stains.
They are often preferred for use on hardwoods and other dense woods. However, oil-based stains are not the best option for painted wood.
Why?
The oil in the stain may not adhere properly to the painted surface and can react with the existing latex paint, causing it to soften or peel off. This can result in an uneven and unsightly finish, especially for old painted furniture.
Gel-Based
Gel stains have a thicker consistency compared to traditional stains, and they contain a higher amount of binder, which is a combination of pigments and oils. This binder helps to keep the stain together and prevent it from dripping.
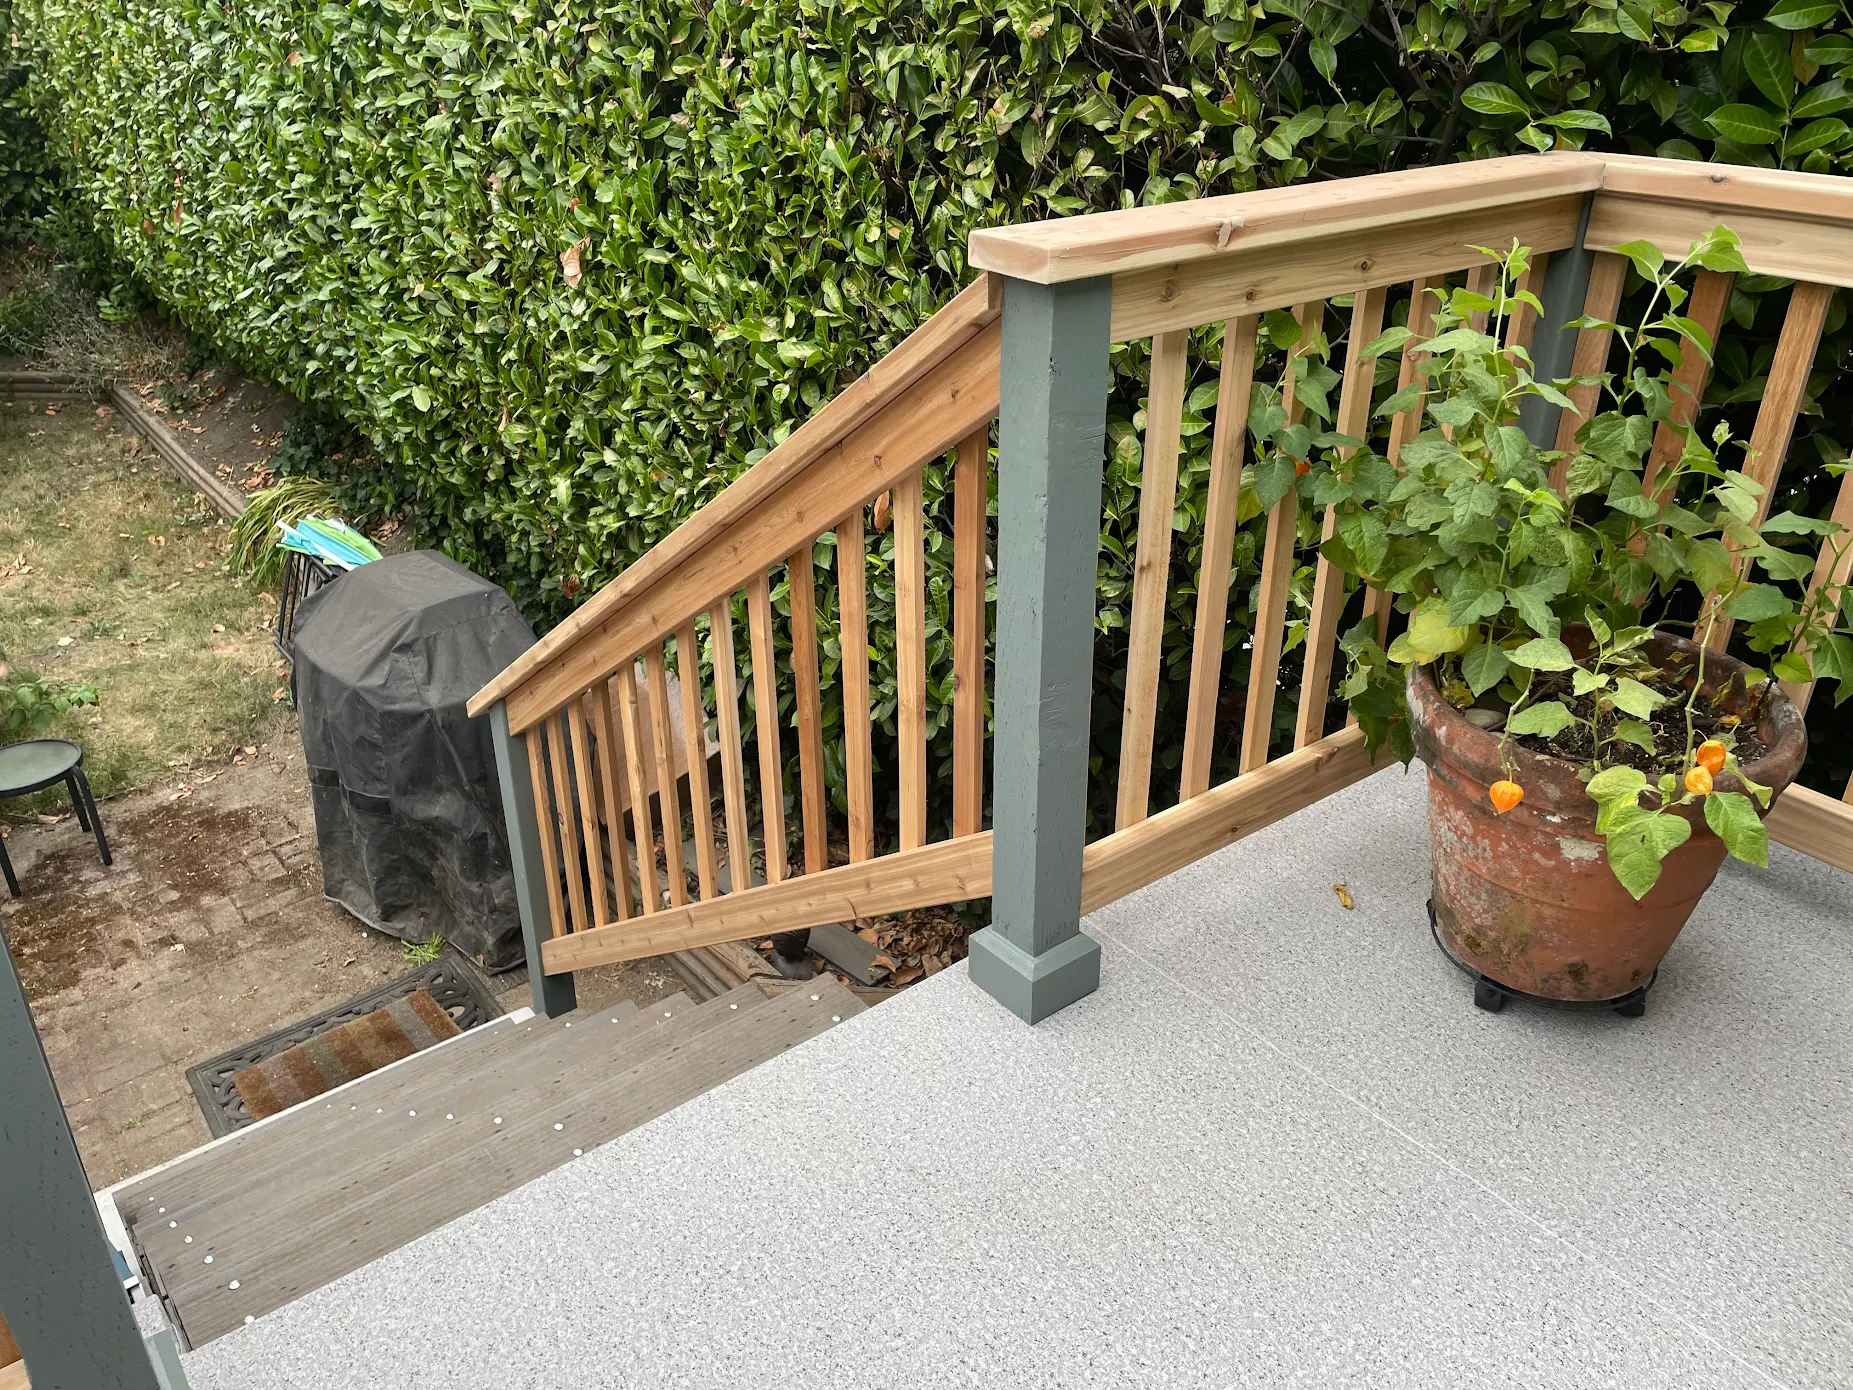
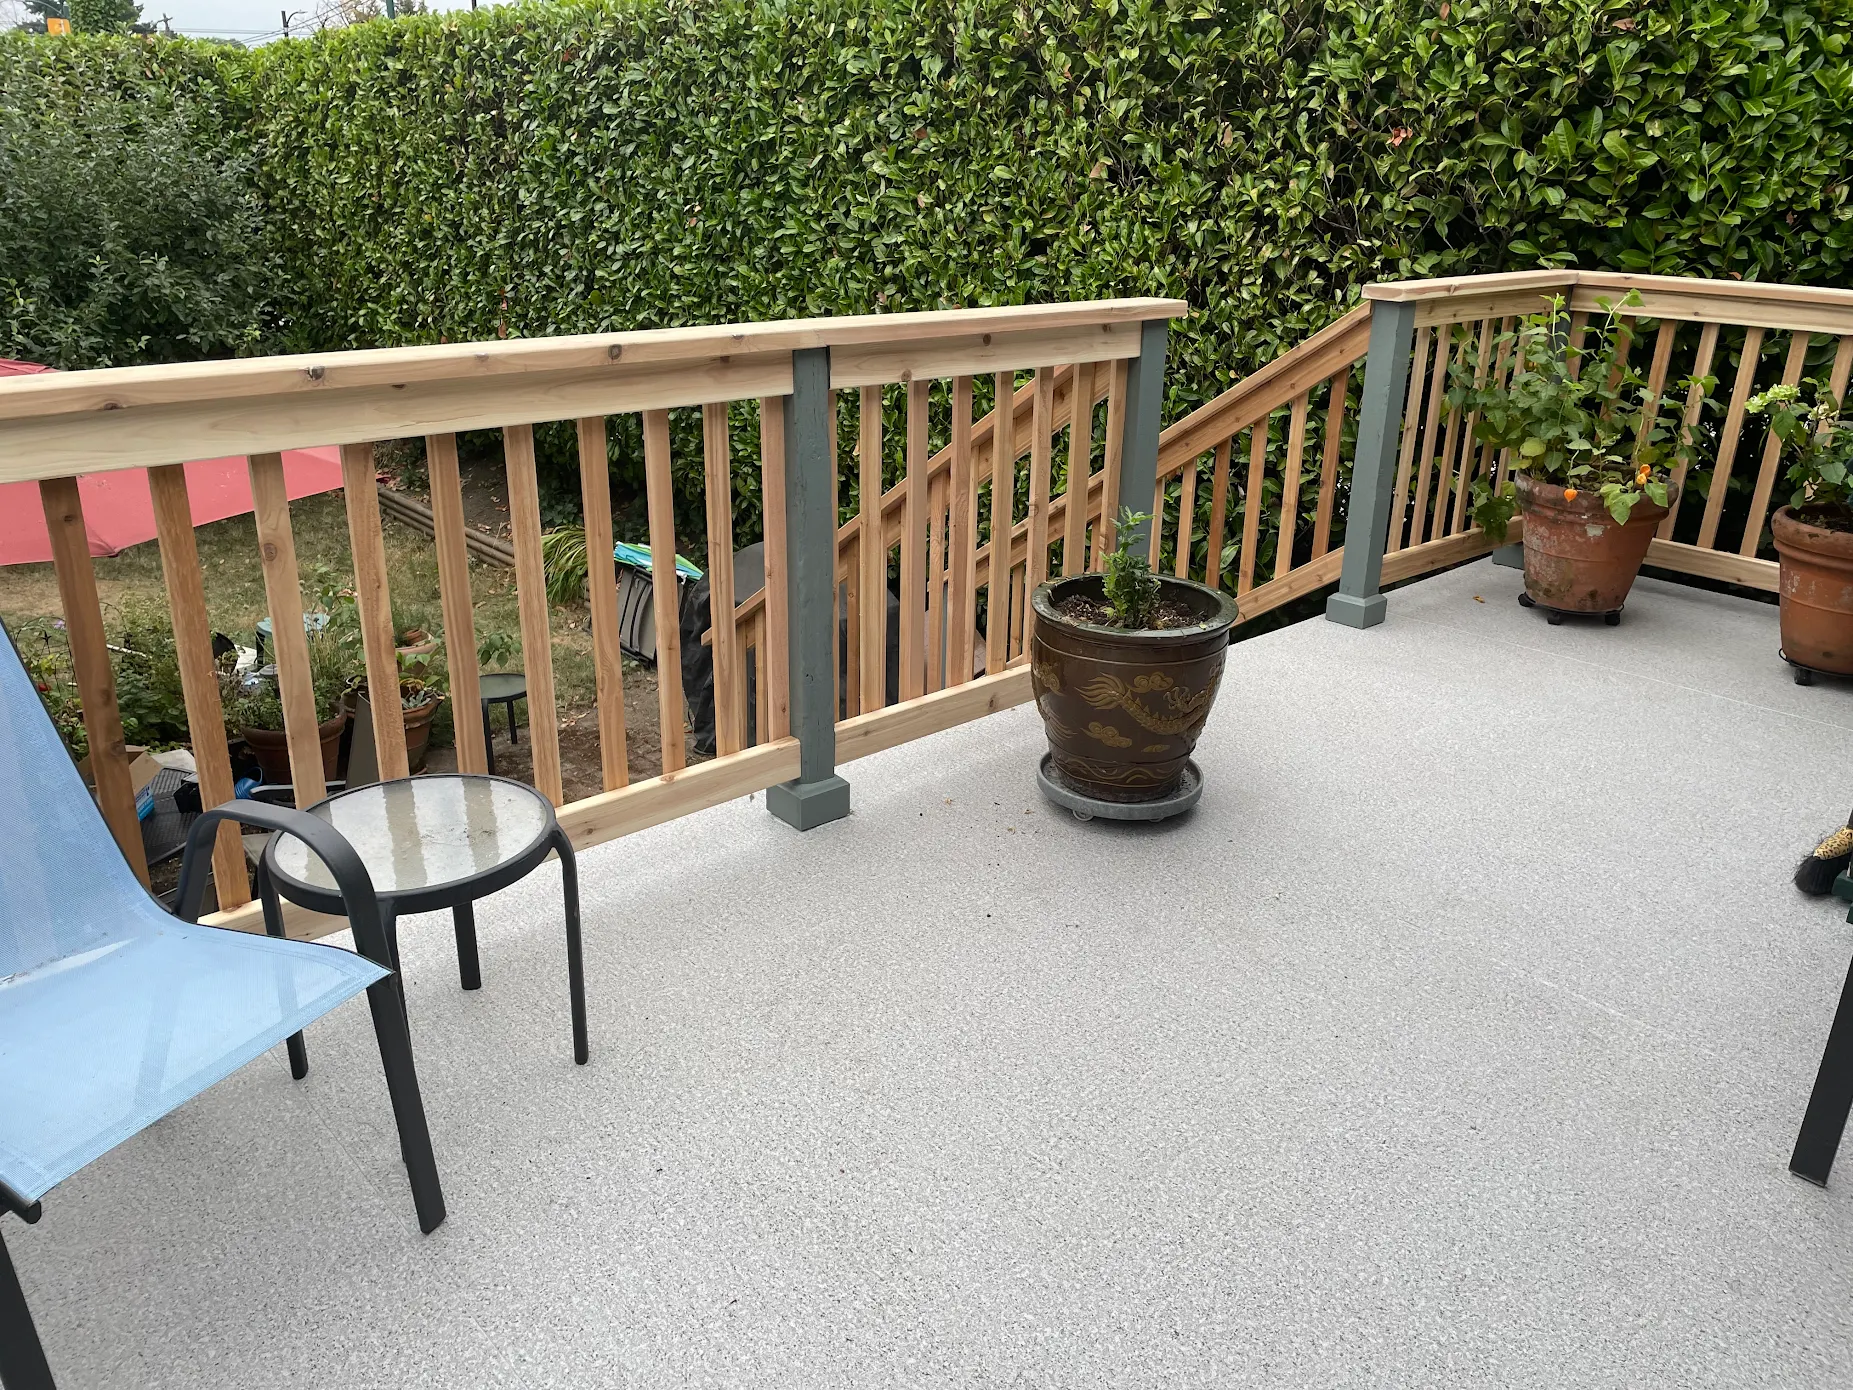
Because of their consistency, gel stains are usually easier to apply and control. This results in even coverage, especially on vertical surfaces like painted cabinets and doors. This makes gel stain the best choice for wood surfaces with existing paint where precise application is required.
Another great advantage of gel stain is its ability to adhere well to painted surfaces. Unlike other liquid stains that can seep into the paint and cause it to peel or become uneven, gel stain sits on top of the surface, making it perfect for staining painted furniture.
Gel stains are versatile and can be used on various surfaces, including porous woods like pine, oak, or cherry, as well as metal or fibreglass. With gel stain, you have complete control over the thickness level during the application, giving you the flexibility to achieve the look you desire.
Using a brush or foam roller can help create a smooth and even coat that mimics the look of real wood grain.
Tools and Materials

You will need a few supplies for this wood stain project. Here is a list of tools and materials to prepare before you stain over paint:
- Paint Brush or Foam Brush
- Sandpaper
- Gel Stain
- Tack Cloth
- Gloves
- Microfiber Towel
- Paint Scraper (if removing the old finish)
- Putty Knife (if repairing wood)
- Mineral Spirits
- Polyurethane or Sealer
- Safety Goggles
- Apron
Applying Gel Stain to Painted Wood: A Step-by-Step Procedure
- Prepare the painted surface.
Before you stain over paint, cover the surrounding area with a drop cloth and put on your gloves, apron, and safety goggles.
Then, use a damp cloth to clean the entire surface of the furniture and wipe off dirt or dust particles. If the furniture has any loose or flaking paint, you may use a paint scraper to remove it.
Important: Allow the wood to dry completely before moving on to the next step.
- Lightly sand the painted furniture.
Lightly sanding the painted surface with 320-grit sandpaper is a crucial step when you are trying to stain over paint. This helps create a smooth surface for the gel stain to adhere to. Make sure you don’t sand too hard or too much so that you don’t damage the wood.
Then, clean it again with a tack cloth to gently remove sanding dust.
- Choose your gel stain colour to match the wood grain.
Choosing the right gel stain colour can be tricky, as the perfect shade can depend on various factors such as the type of wood, the desired finish, and the overall look you’re trying to achieve. However, the good news is that gel stains offer a lot of versatility and can be used over any underlying paint, making it easier to achieve the desired effect.
To begin, it’s always recommended to do a small test on a piece of wood with the chosen gel stain to ensure that the colour and finish match your expectations. This can save you a lot of time and effort if the result is not satisfactory.
Remember, choosing the right gel stain colour is crucial to achieving a beautiful and professional-looking finish. So, take your time to consider all the options, test different colours, and select the one that best suits your needs and preferences.
- Use a brush to apply gel stain over paint.
For a smooth finish, it is important to apply a thin and even coat of gel wood stain.
- Use either a paintbrush or a foam brush to apply a thin layer of gel wood stain to one side of the furniture. Ensure that the stain is applied in long, even strokes, covering the entire surface.
- Allow the gel stain to sit for a few minutes, depending on the recommended drying time for your specific stain.
- Use a tack cloth to wipe off any excess stain. Be careful not to remove too much in the process.
- After completing the first coat, allow it to dry for at least 12 hours before deciding if a second coat is necessary.
- If you require a deeper or darker colour, apply gel stain using the same method as the first coat, in the same direction.
- Allow the final coat of gel stain to dry for at least 24 hours to ensure that it is entirely dry and set.
- Seal the stained wood.
Once the gel stain has completely dried, it’s important to protect it from wear and tear by adding a topcoat of quality polyurethane or varnish.
You can use a brush to evenly apply thin coats onto the stained surface, following the direction of the wood grain. Be careful not to leave any brush marks or bubbles.
Let the wood stain dry completely before applying the final coat for extra protection and durability. Check the manufacturer’s instructions for the recommended drying time for the sealer you’re using. You can apply additional thin coats of sealer if needed.
- Apply the finishing touches.
Check your stained wood for signs of imperfections or areas that need touching up.
Some common things to check for include:
Uneven colouring
Check for any areas where the colour appears lighter or darker than the rest of the surface. If you notice any uneven colouring, you may need to apply additional coats of gel stain or touch up the area with a small brush.
Drips or bubbles
Drips or bubbles may form during the application process. It is best to immediately wipe them off while the stain is still wet. However, if you notice any after the stain has dried, you can use fine sandpaper to gently remove the imperfection. After that, you also need to reapply the sealer.
Scratches or scuffs
If there are scratches, you can touch up these areas by lightly sanding and applying additional coats of sealer.
Smoothness
Run your hand over the surface to check for any rough or uneven areas. If you notice any, light sanding of the area is recommended before you apply additional coats of sealer to achieve a smooth finish.
- Maintenance
To ensure that your stained wood furniture remains vibrant and durable, proper maintenance is essential.
Here are some tips to help you care for your furniture:
Regular dusting: Use a soft cloth or feather duster to remove dust from stained surfaces regularly. This helps prevent scratching and discoloration caused by dirt and debris.
Wax-based polish: Apply a wax-based polish to surfaces that are exposed to regular wear and tear, such as tabletops and armrests, every few weeks. This creates a protective layer that can reduce the chances of damage from everyday use.
Avoid direct sunlight: As much as possible, avoid placing your stained wood furniture in direct sunlight, as UV rays can cause fading over time.
Handle with care: Always handle your furniture with care and avoid placing heavy objects on it or using abrasive cleaning materials.
Periodic re-staining: Over time, stained wood can lose its vibrancy. Consider periodic re-staining to keep your furniture looking like new.
Weather Considerations
If you like working outdoors, staining wood surfaces is usually best done in the late spring, summer, and early fall, when temperatures are warm and humidity is moderate.
Choosing a calm day for staining is also important to prevent dust and debris from blowing onto the wet stain or the rain from washing it away before it dries. This can result in an uneven or blotchy finish, which may require additional work to fix.
However, most people would probably do this kind of work indoor. In this case, the weather will not really matter as long as you are in a well-ventilated area. This is important to avoid inhaling any harmful fumes and to ensure the stain dries evenly. A garage with the doors and windows open or an outdoor area is a good option.
Common Challenges DIYers Encounter When Staining Wood
Lack of adhesion
A common issue when using gel stain on painted surfaces is poor adhesion, leading to an uneven or patchy finish. This problem can be attributed to various factors, including insufficient surface preparation or overapplication of the stain in thick coats.
Blotchy finish
Painted wood surfaces are often not as porous as raw wood, which can result in uneven absorption. If you want to effectively stain over paint, you should lightly sand the paint surface to create a slightly rough texture. Inconsistent stain application can also lead to blotchy results. You should apply the gel stain in thin, even coats, and use a quality brush to ensure a good finish.
Difficulty covering flaws or scratches
In general, stains are formulated to enhance the natural beauty of wood. Unfortunately, this also means that stains can highlight any existing flaws or blemishes.
Scratches can become more noticeable when stained, as the surrounding area can darken, creating a greater contrast between the scratched and unscratched areas of the finished wood.
Aside from sanding the surface, deeper scratches should be filled with a wood filler that matches the colour of the wood. Gel stain can provide better coverage for scratches and other imperfections, as it is thicker and less transparent than other types of stain.
Gel stain turns hard
When gel stain has been stored on the shelf for too long, it can thicken due to the evaporation of solvents. This can make it difficult to work with and affect its ability to adhere properly to the wood surface.
If you find that your gel stain has become thick, don’t rush to throw it away just yet. Before disposing of it, try stirring it thoroughly to see if it can be restored to its original consistency.
If that doesn’t work, one potential solution is adding small amounts of linseed oil or mineral spirits to loosen up the stain. For the exact measure, always refer to the label for manufacturer instructions on proper usage. However, be careful not to add too much at once, as it can over-thin the stain and affect its performance.
Keep testing the consistency as you go to make sure you don’t overdo it. If you’re unable to restore the stain to a usable consistency, it may be time to dispose of it and buy a new one.
8 Expert Tips and Tricks for a Beautiful Finish
- Make sure the painted surface is in good condition before applying the gel stain. The paint should not be chipping or peeling to get the best results.
- If you don’t have a tack cloth to clean the wood, you can use a microfiber towel or a regular damp cloth.
- Test different colours of gel stain on a small area of the furniture to determine which one looks best.
- Remember that brush strokes should be in the same direction for the best results.
- Make sure to cover the entire side of the panel at once so the gel stain won’t form visible lines or lap marks where wet and dry stain meet.
- Apply the gel stain to the entire side of the panel continuously or without any breaks in the process, meaning that you should not leave one side halfway stained. Doing so can create visible lines or lap marks where wet and dry stains meet.
- Take your time when applying the gel stain. Avoid working too quickly or applying too much pressure when brushing or rubbing in the layers of stain, as this can result in an uneven finish or splotches.
- Patience is key. Allow ample time for the gel stain to dry before applying a sealant.
DIY vs. Professional: When to Get Help from the Pros
Gel stain is a superior choice for adding an extra touch of beauty and sophistication to wooden furniture. It’s easy to apply and doesn’t leave brush strokes or other imperfections like traditional paint. However, it’s important to choose the right colour and prepare the exterior surfaces properly before application.
When considering applying gel stain over paint, many may be tempted to do it themselves, as DIY is a less expensive option. However, hiring a professional is often worth the added expense to achieve an even and lasting finish.
For one, professionals have access to the specialized tools and equipment needed for proper application. They can ensure that your furniture’s surface is adequately prepared prior to staining.
More importantly, they have expertise in recognizing wood features and matching colours, making it easier for them to choose the perfect shade for your project while achieving an even coat with fewer layers. This can save you time and money compared to attempting the job yourself.
So, if you’re looking for beautiful, lasting results when it comes to gel staining over paint, consider getting the help of gel stain experts. It’s worth the investment to ensure that your valued furniture looks its best!
Frequently Asked Questions
What happens when you put wood stain over paint?
Typically, it is not recommended to put regular wood stain over paint, as it will not penetrate the surface. However, using a gel stain can work well, as it is designed to adhere to painted surfaces. Just make sure to use a gel stain specifically formulated for use over paint.
Can you stain over painted wood without sanding?
It is not recommended to stain painted wood without sanding first. Sanding scrapes the surface, removing the blemishes and allowing the next coat of stain to penetrate better. Without sanding, the stain will not adhere properly and may result in a blotchy or uneven finish.
Can you put an oil-based stain over latex paint?
It depends. There are instances where you should not put oil-based stains over latex. No, you should not put oil-based stains over latex-painted wood. Oil-based stains do not adhere well to latex paint and can cause the paint to peel. For the best result, use a gel stain that is designed to adhere to painted surfaces and can provide good results without the need for stripping.
Can you put stain over white paint?
Yes, it is possible to apply gel stain over white-painted wood, but it’s important to note that the final result may not be the same as staining over bare wood or darker paint. The white paint will impact the colour and tone of the stain, resulting in a more muted or blended look.
Why use stain instead of paint?
Staining wood can provide a beautiful and natural-looking finish that is not always achievable with paint. It also allows the natural grain of the wood to show through, creating a unique finish that can be tailored to each project.
What should you not do when staining wood?
You should not stain wood that has not been properly prepared and sanded. This can result in an uneven finish or an uneven absorption of the stain. You should also not use too little or too much stain, as either can lead to an undesirable finish. And of course, do not rush the process to achieve the best results.