If you’re considering painting your ceiling, there are a few things you need to take into account before deciding whether or not to go ahead with the project. In this essential guide for homeowners, we’ll uncover the real cost of painting your ceiling – from materials and labour to time considerations. By the end of this post, you’ll have all the information you need to make an informed decision about whether or not painting your ceiling is right for you. Let’s get started!
Textured ceilings versus smooth ceilings
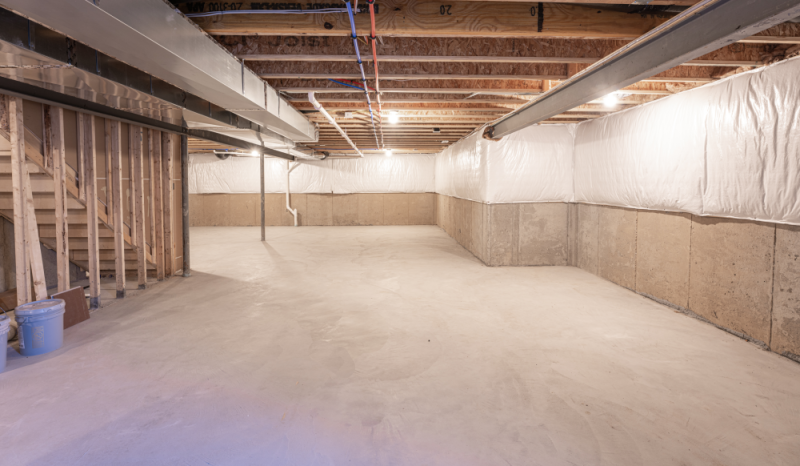
Painting textured ceilings versus painting a smooth ceiling is an important factor to consider when painting a room. Textured surfaces create additional challenges for the painter, as they may need to be sealed first with primer to successfully seal the surface before painting it.
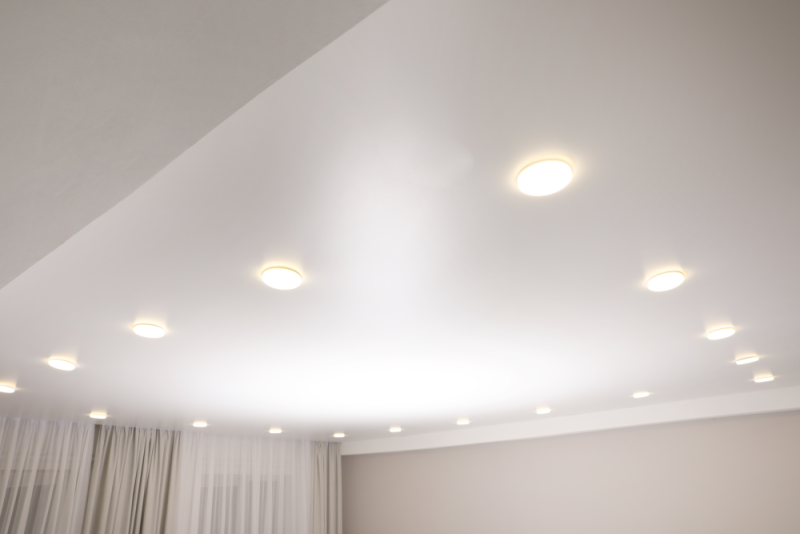
Smooth surfaces allow for an easier application of paint and an overall faster process than painting a textured ceiling.
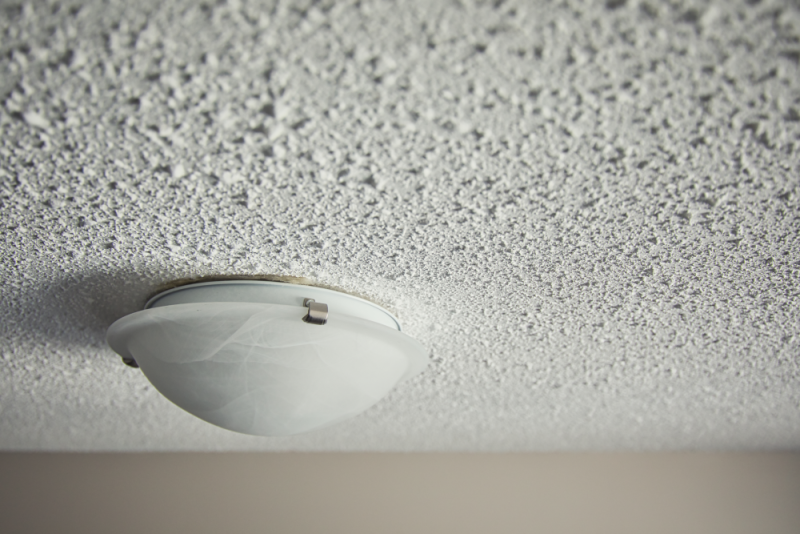
Popcorn ceiling
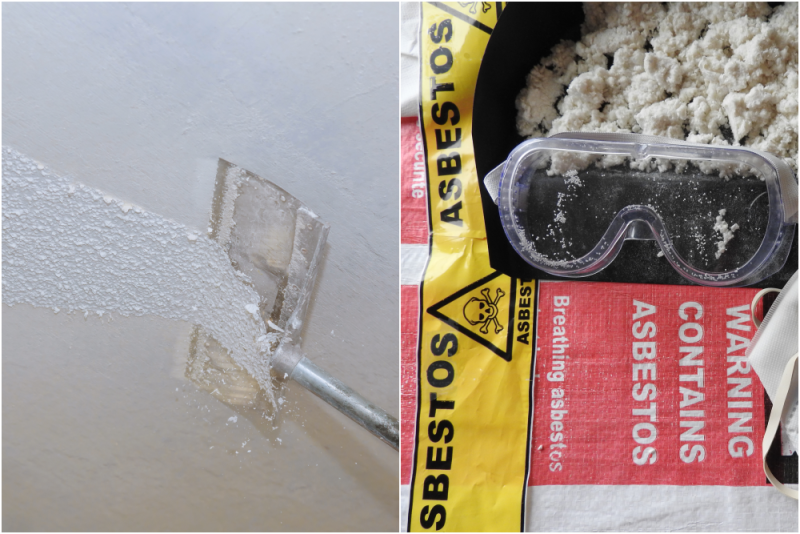
Textured ceilings are also known as popcorn ceilings. A lot of homeowners dislike them and will ask to have the popcorn removed and made smooth. This is a big job and can be dangerous due to the possibility of asbestos.
C`eiling paint
When it comes to choosing the right type of paint for your ceiling, there are a few things you should consider. You’ll want to choose a paint that is high-quality and designed specifically for ceilings, as this will help ensure an even finish and better coverage. Ceiling paint is generally in a flat sheen and reflects the least amount of light, resulting in a better finish.
How much paint do you need?
The amount of paint you’ll need for your ceiling will depend on the square footage, to be painted, and the type of surface you’re painting. coverage will be about 325 square feet per coat for flat areas and 250 for rougher, more porous, surfaces.
Costs associated with painting ceilings
The cost of painting a ceiling can vary significantly depending on the size of the room, the quality of paint being used, and any additional materials or labour required. Depending on the size of your room, hiring a professional painter may be a good option to ensure that the job is done right, especially if you have taller ceilings or they need to be primed or there are repairs required.
Stain blocking primer
Before you paint your ceiling, it is important to make sure that any stains or water damage on the surface are properly sealed. A stain-blocking primer can be used to prevent these stains from bleeding through the paint and ruining the look of your finished project.
Time considerations
When it comes to painting your ceiling, it is important to factor in the time involved. The preparation of the space can take some time before painting begins, and you may need to allow for drying times between coats or touch-ups. Additionally, if you hire a professional painter they will need to estimate their time as well.
Protection and cleaning up
Finally, it is important to remember to protect the floors and furniture in the area you are going to paint. Move out furniture or cover it with drop cloths or plastic so that it doesn’t get splattered with paint. Additionally, make sure to clean up any messes immediately while painting and once you’re finished.
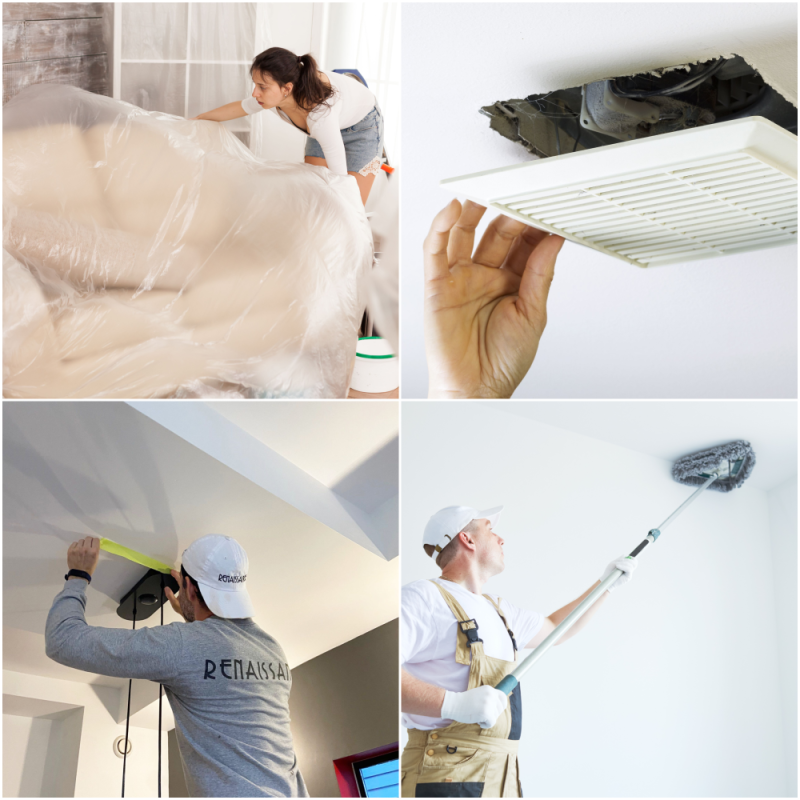
Before you start painting fixtures on the ceiling such as ceiling fans, light fixtures and miscellaneous hardware need to be removed, if required, or covered if not easily removed. They should be covered with draping plastic and then taped closed. Unthread the base of the fixture and let hang from the ceiling.
Preparation
For all ceilings start by cleaning them by wiping them down with a duster to remove any dust and cobwebs. Following that, you need to fill any imperfections or cracks with spackle, followed by sanding the ceiling lightly. Sanding is only for smooth ceilings never textured.
You may also need to prime the surface depending on what kind of paint you are using. This will help ensure even coverage of your paint and give it a smooth finish. Priming is usually reserved for unpainted textured surfaces or ceilings as they are more porous and will absorb a lot of paint/primer initially.
Textured Ceilings that have never been painted before
You want to be careful to not wait to backroll the first coat. Get the first coat on and leave it alone. Wait for it to dry. The reason for this is that the texture can become softened from the water in the paint and may come off in sections or areas.
To minimize this problem, it is best to spray an even coat of primer or paint onto the entire surface with a paint sprayer. Once that has been completed, wait for it to dry.
Ceiling height
A factor that impacts the painting of the ceiling, such as height and other existing features. Very high ceilings, two or more stories, may require scaffolding which adds to the cost.
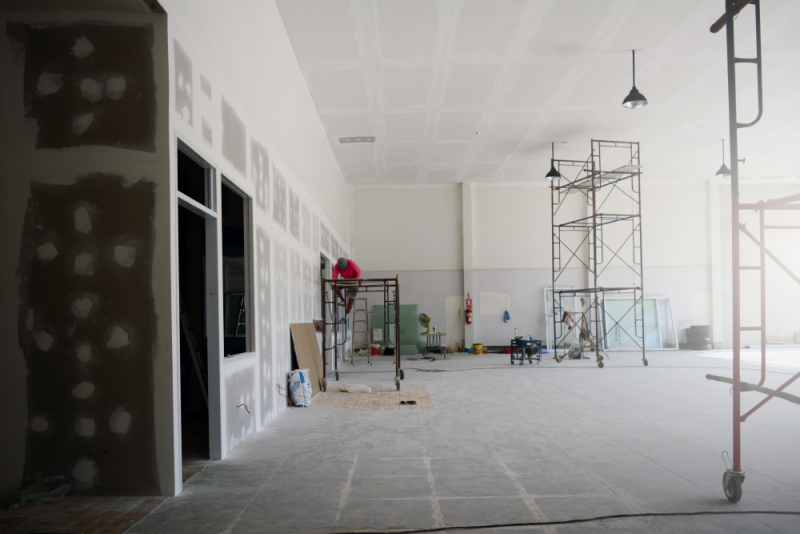
Average ceiling height
Most ceilings are 8 to 9 feet high, with vaulted ceilings typically ranging from 12 to 25 feet high. In architecture, the ceiling height is measured in a room from the floor to the highest point of the ceiling.
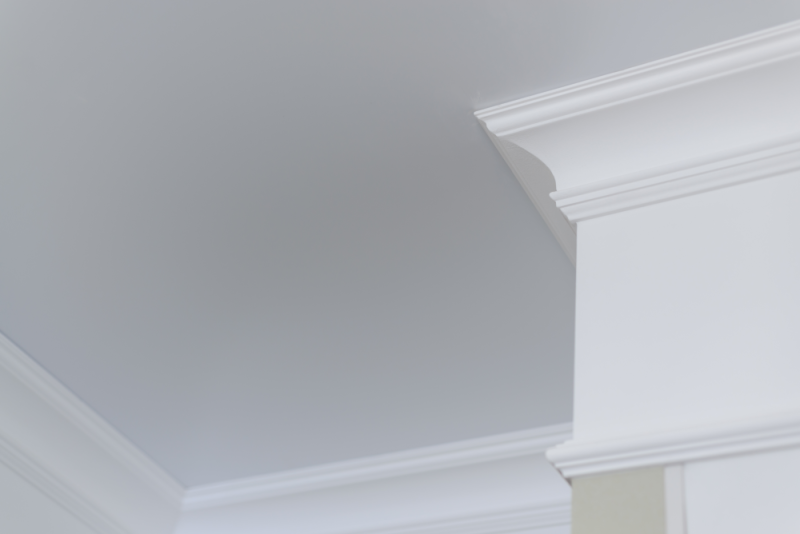
Crown moulding
In addition to the height, other existing features such as crown moulding can also impact the cost of painting a ceiling. Crown moulding is decorative trim that fits around the perimeter of a room at the intersection between walls and ceilings. Painting this area requires more time, materials, and skill than a regular wall or ceiling painting.
Tools and materials needed
Protection
You will need to protect floors and furniture from paint splatter and for that, you will need drop cloths, masking paper, draping plastic and painter’s tape.
Painting tools
You will need a paint tray, paint roller, extension pole, roller cover, angled brush, step ladder, safety glasses and a cut can. For high ceilings, you will need to consider getting taller ladders.
Materials required
You will need good quality ceiling paint, such as Benjamin Moore Waterborne Ceiling Paint or Sherwin Williams Promar 400 Ceiling Flat. Both are excellent at hiding, have great coverage and are a very flat finish.
How to paint a ceiling
When you paint the ceiling start by cutting in the edges along wall and ceiling lines. For this, use a brush with an angled sash brush. When you are finished, fill in the rest of the surface with a roller.
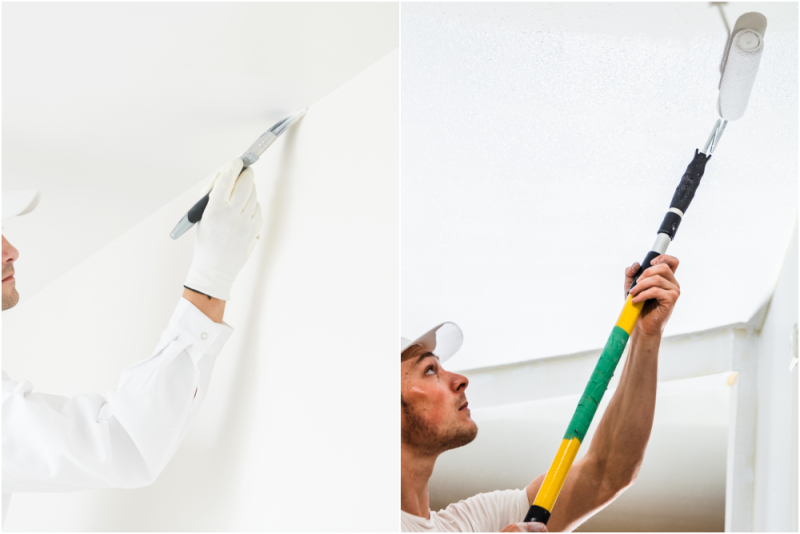
Apply even coats of paint, starting from one corner and rolling outwards to ensure that you get even coverage without lines or ridges of paint. Ensure the entire ceiling is complete and wait for it to dry before applying the second coat.
Costs
Hiring a professional
The cost will vary based on factors such as ceiling height, the surface and the application method. On average you can expect to pay anywhere between $1-$2.20 per square foot.
Do it Yourself (DIY)
If you are going to do it yourself expect to pay about $70 in paint per average-sized room plus a couple of hundred dollars for materials.
Conclusion
Painting your ceiling is an effective way to add some style and finish off your design. Proper preparation is key for any painting project, and the same goes for the ceiling. Many factors affect the cost of painting a ceiling such as height, existing features and materials needed. Hiring a professional will be more expensive than DIY, but you have to ask yourself if giving up a whole weekend is worth it. For a lot of homeowners… the answer is no.
If you have any questions, or comments or need some help with a project feel free to shoot us an email, text message or even give us a call. Thanks