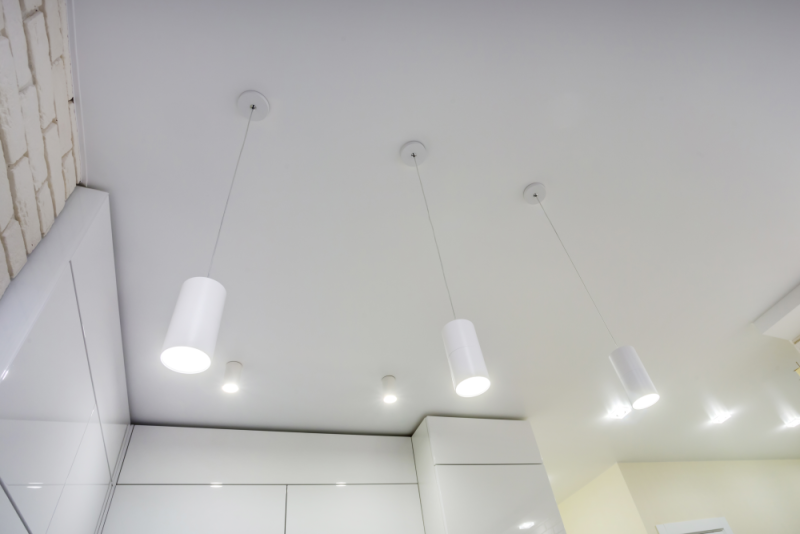
How can you fix peeling paint on the ceiling? Do you want to paint a ceiling or perhaps all your ceilings? Painting a ceiling may seem like an easy task, but it can be tricky if you’re not sure what you’re doing.
In this blog post, we will walk you through the process of professionally painting a ceiling. We’ll provide tips and tricks for every process step, from preparing the surface to finishing up. So whether you’re a beginner or a pro, this post has something for you! This guide is meant for smooth ceilings and not textured ones.
Check our exclusive content about textured ceilings here.
Getting set for your paint project
What tools and equipment will you need? Where do I get them?
You will need:
- A ladder;
- Paint;
- Paintbrushes (2″ sash and 1″ sash for tighter areas);
- Roller cage and sleeves;
- Paint tray;
- Liners for paint tray (optional);
- An extension pole;
- Drop cloths or plastic sheeting;
- Tape (optional);
- Screwdriver for fixtures (if any);
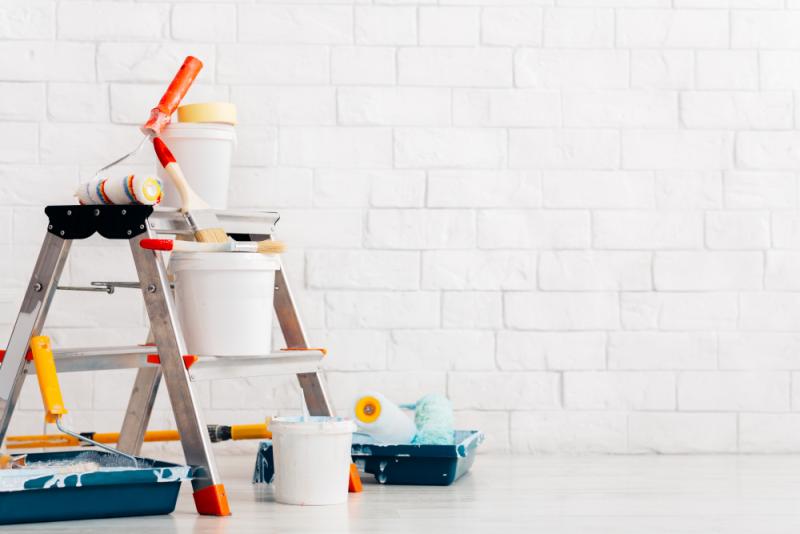
The necessary materials can all be found at your nearest hardware or local paint store. Though this is not an exhaustive list of tools, it will give you a jumpstart.
Paint Quality
Always use good quality paint to paint. Ceilings are one of those places where it’s worth it to spend a little extra money on the paint. A good ceiling paint will go on smoothly and evenly and will be less likely to drip and splatter where the walls meet and elsewhere. Good quality paint is much better than more paint of a lower grade so choose appropriately.
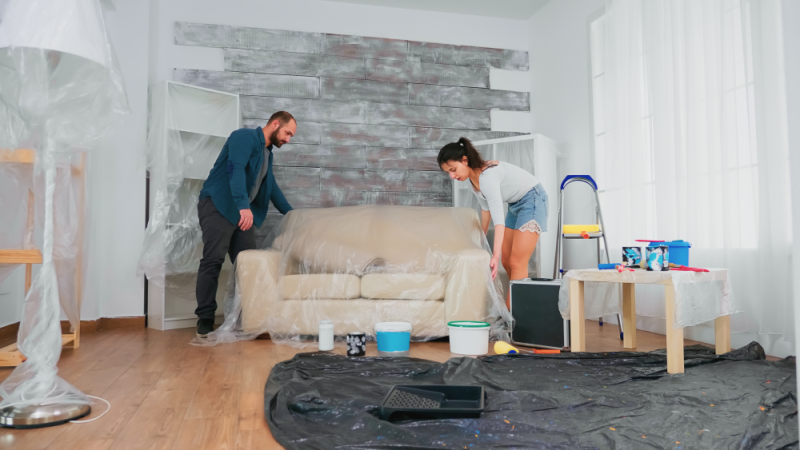
Protection
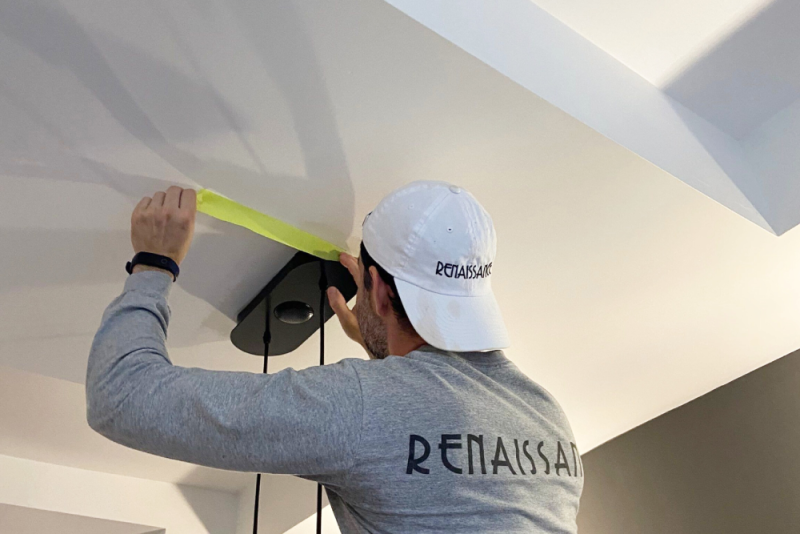
Before you begin painting, it’s important to protect your floors and furniture from paint drips and splatters. To do this, you will need to create a “painting zone” by laying down drop cloths or plastic sheeting to cover your floor and furniture. You may also want to tape off any areas that you don’t want to get paint on, such as fixtures, baseboards, crown moulding, trim or even doors.
The most efficient way to tape trim and fixtures is by using longer pieces of tape and making sure the application is straight next to the ceiling’s edges. When taping, avoid leaving any “bubbles” behind. If you do, there will be pockets where paint can potentially seep through when painting the ceiling.

If there are any fixtures in the way, such as light fixtures or ceiling fans, you will need to remove them or cover them before painting. Be sure to turn off the power to the fixture first, and then unscrew it from the ceiling with a screwdriver.
Now you’re ready to begin painting!
Step 1: Measuring your room and order supplies
The first step is to measure the room so you know how much paint you will need. Once you have your measurements, head to your local paint store or hardware store and purchase the amount of paint necessary for the project. Get extra paint, just not too much.

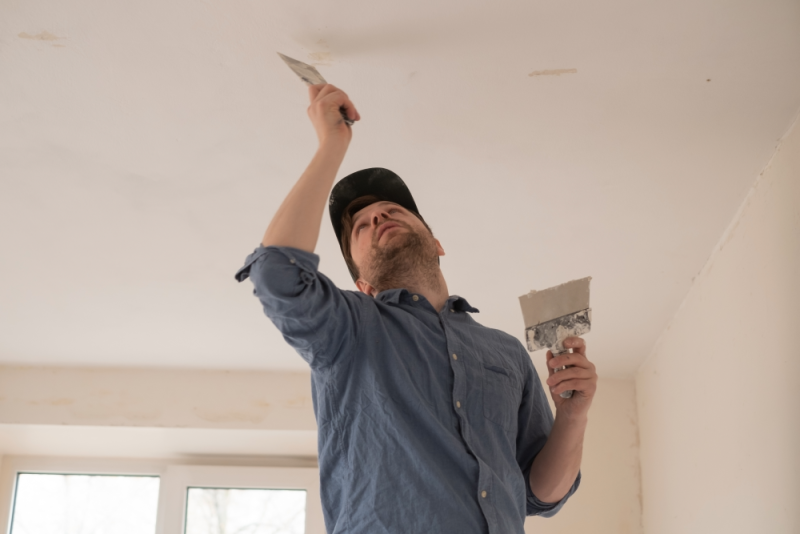
Step 2: Filling any holes
Fill any holes or cracks in your ceiling with either spackling paste or joint compound. While both work, a fast-drying compound like DryDex will get the job done quicker. The goal here is simply to leave a flat, smooth ceiling and you may have to fill and sand a few times to achieve this depending upon the hole you are filling. You will need to wait between coats of filler for drying time.
Step 3: Taping off Fixtures and trim
Once the holes are filled, you will need painter’s tape to tape off any fixtures that cannot be removed, such as light switches or recessed lighting such as pot lights. Proper painter’s tape won’t leave glue behind or damage your surfaces when you remove it. We recommend Frog Tape for professional jobs.
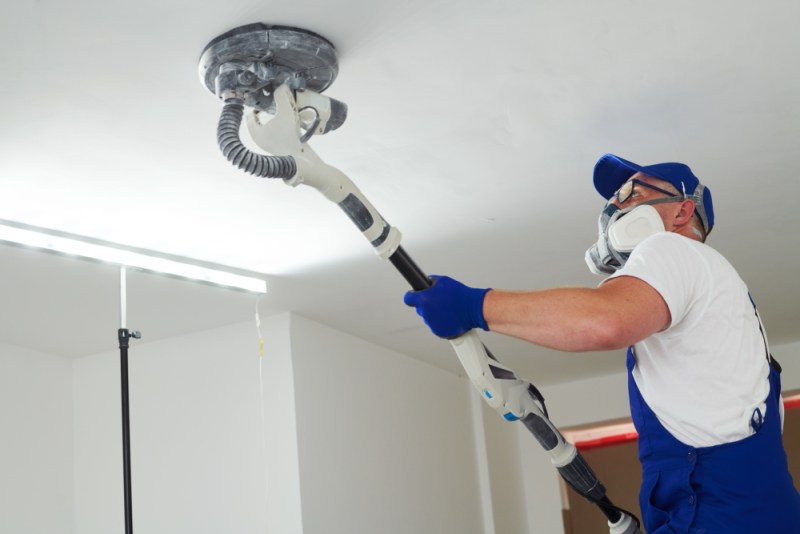
Once your filling compound is dry, you will have to sand the surface so it is smooth before painting. If the area is large, you may want to use a power sander to make the job go faster. If you do use a power sander, make sure to use a very fine grit. A course grit can damage the drywall surface, so we recommended a 220 or close to that. Before you start, as always, safeguard any furniture and flooring. And don’t forget to wear personal protective equipment (PPE), like face masks, safety glasses and gloves.
Step 4: Applying primer (optional)
If you are painting over a dark colour, a stain or even new drywall, you may want to apply a stain-blocking primer before painting. This will help the paint to better adhere to the surface and provide better coverage. If you choose to use a primer, be sure to select one that is compatible with the same colour of ceiling paint you have chosen. Although it is usually best to wait 24 hours for the primer to dry, you should always check the label on the can as drying times may be different.
Step 5: Cutting in the ceiling
Now it’s time to start painting!
Once the primer has dried, begin by painting the ceiling edges and corners of the room using a brush. You will need an appropriately sized stepladder for this part of the job. A 3 to 4 step-ladder is perfect for a normal 8″ ceiling.
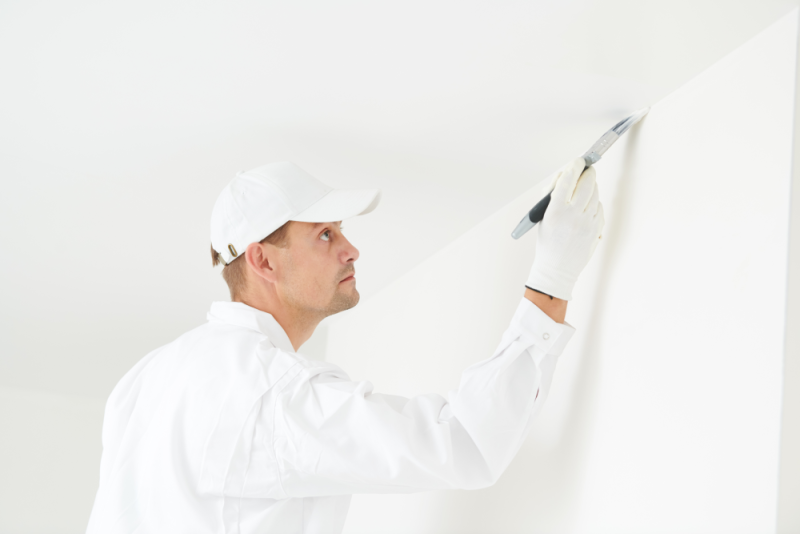
Anything smaller and you won’t see your brushwork at eye level for quality work. This is called “cutting in.” Many ceilings have crown moulding installed and a steady, sure hand is required to paint close to the edges of these. Once the edges are cut in, make sure there are no “high edges” where your brush strokes stop on the ceiling. This will leave paint lines that can be noticeable to the eye if left behind. To blend the paint is to feather it in.
This is not easy to do and can be avoided by doing one room at a time so the paint does not dry too quickly between “cutting” and “rolling”. Additionally, avoid using a brush that is too big for the area you are working in. A good rule of thumb is to use a 2-inch angled brush for most areas and a 1-inch brush for smaller spaces. Stay away from frayed brushes so that your cut lines are clean and more precise.
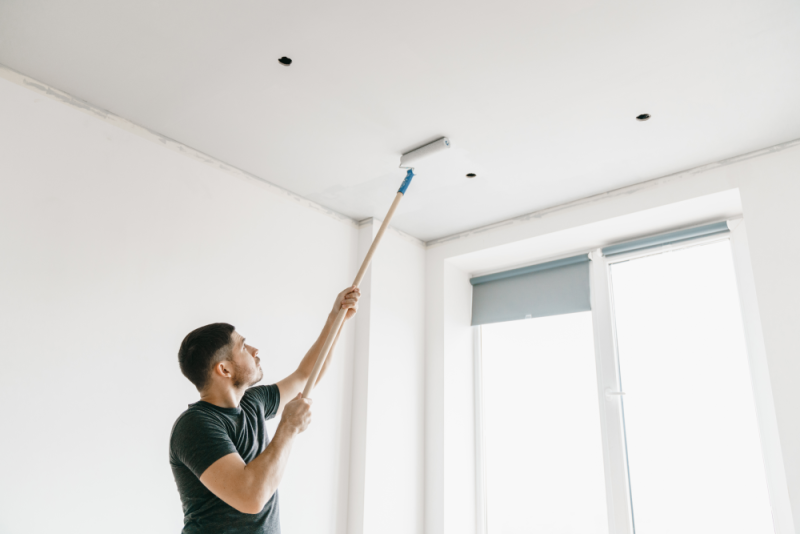
Step 6: Rolling the ceiling
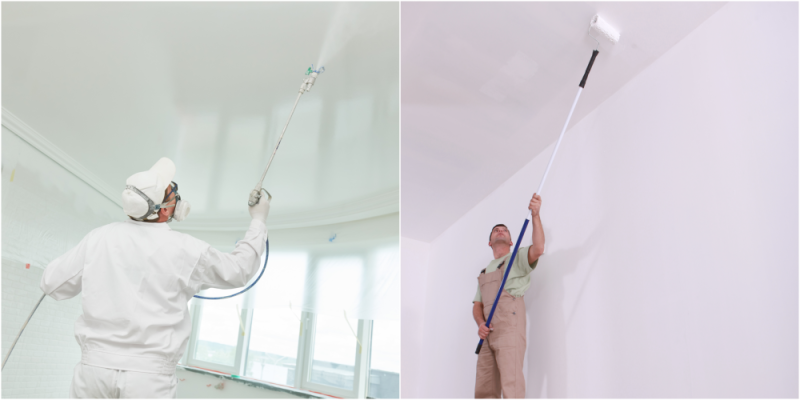
Sprayers are considered to be much faster as opposed to painting with a 9″ roller sleeve (also known as a roller cover). This is very much true when doing larger jobs and is mostly chosen when new homes are being built as there is no furniture or flooring to protect. This can be a very messy operation as there is much paint spray in the air and practically everything will be covered in a coat of fine paint dust. Not only that, sprayers take time to set up and clean after the job is done. With that being said, existing homeowners are recommended to simply roll out the ceilings with a roller and extension pole for a cleaner and easier job.
Rolling the ceiling is best done in two directions. Begin by painting a 3-foot wide strip down the middle of the room using a “W” pattern. Once that section is complete, fill in the strips on either side of the centre strip. Work your way around the room until the entire ceiling is painted.
To avoid lap marks, always roll the full height of the wall and keep a wet edge. Do not let the roller become nearly dry; reload it often so that it’s always at least half-loaded.
This will result in an uneven finish if not done properly.
Keep the open side of the roller frame facing the area that’s already painted to reduce drips and spills. If you need to take a break, be sure to cover your paint tray and roller with a damp cloth so the paint does not dry out.
When doing a colour change, it is an excellent practice to do at least a second coat of paint to get a solid cover. Many painters will even do a 3rd coat on ceilings to cover any stubborn imperfections of colour or colour changes.
Step 7: Sanding between coats
Light Sanding between coats is done to eliminate any dried dust or contaminants on the painted surface. This ensures a clean, smooth beautiful finish for your ceiling. Do not do any sanding until the 1st coat is dry. Generally, this can be a few hours but is recommended to wait one day between coats for a cured drying. Use a fine 220-grit sandpaper for light sanding between the first coat and the second coat. This will help ensure you don’t scar the ceiling up when sanding and will leave a beautiful smooth finish once you apply the final coat. If you are not doing two coats you will only sand before the first coat.
Cleanup and Final Steps
Putting the rolling equipment away properly is just as important as the prep work and actual painting. Thoroughly rinse all paint trays, buckets, lids and rollers with warm soapy water. This will help prevent rusting and deterioration while in storage. If you’re not planning on reusing the equipment, properly dispose of it according to local regulations.

Paint Storage
Storing leftover paint for future usage is important as well. Unused paint that is conditioned properly can last for years. To do this, tighten the lids on all cans and store them in a dry, cool place out of direct sunlight. For latex paints, adding a small amount of water to the can will help preserve it as well. Don’t forget to write on your paint can label for easy identification in the future.

Last Step
Remove any tape from fixtures and put missing fixtures back in place. Then carefully remove the plastic from your furniture and wherever else you have covered and move your furniture back to where you want it to go and you have done the final step.
You have now completed painting your ceiling! Congratulations!
Final Thoughts
If you have any questions about ceiling painting, Renaissance Solutions would be happy to answer any questions you may have still about your paint job. Perhaps you want someone else to do your painting for you now that you know how much work it can be. Get a quote: https://renaissancepainting.ca/contact-us/
We will be happy to do the job for you professionally and quickly. We have been in business for over 30 years and have extensive experience with interior and exterior painting for homeowners. No job is too big or small for us to take on! To know more about our process of painting a ceiling the right way, check us out at https://renaissancepainting.ca/our-process/