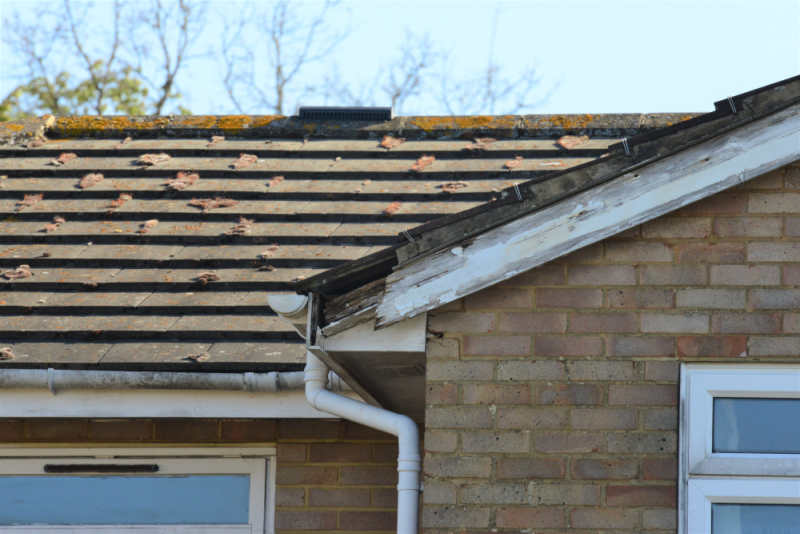
In Renaissance Solutions Painting and Carpentry, we have worked on homes in and around Vancouver for 30 years. One issue on every job is wood that needs repairing or replacing. Sometimes it is better to do a repair, in place, with a high-performance two-component epoxy. This article will discuss when to repair with epoxy versus when to replace a board or boards.
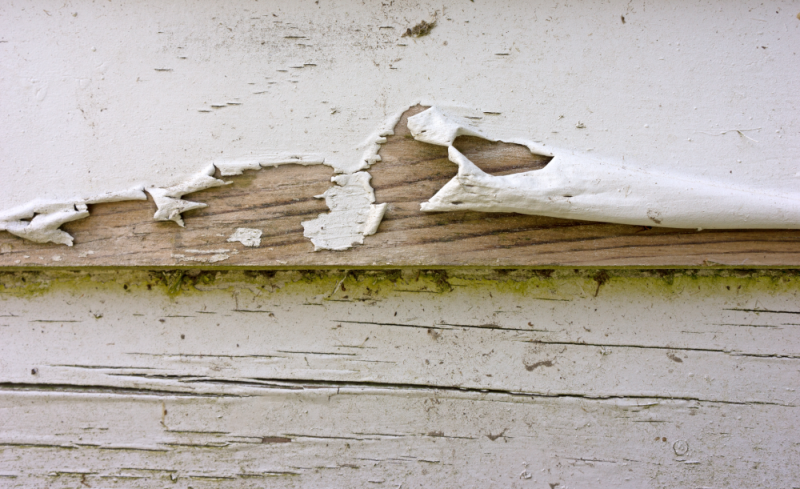
If you’re noticing trim on your home or other wooden structures that appear to be decaying, this blog post is for you. Repairing rotten trim is essential. Failure to address the issue and underlying cause will create more problems down the road. It also becomes more expensive.
Fixing Damaged Exterior wood Trim boards
Repairing rotted wood on your exterior trim boards? There’s no need to worry! This guide will show you how to replace rotted sections or make an epoxy repair. All done without removing the trim piece. Don’t let deteriorating trim ruin your home’s curb appeal. Learn these simple steps and restore it to its original beauty today!
Sometimes Repair is better than Replacing the wood.
It may be tempting to remove deteriorated or rotten exterior trim. Complete removal can cause more damage or be very expensive. Repair may be the better choice. Before making a decision, examine the level of rot and discover its source cause. Otherwise, you’ll only address a symptom rather than treat it from the root.
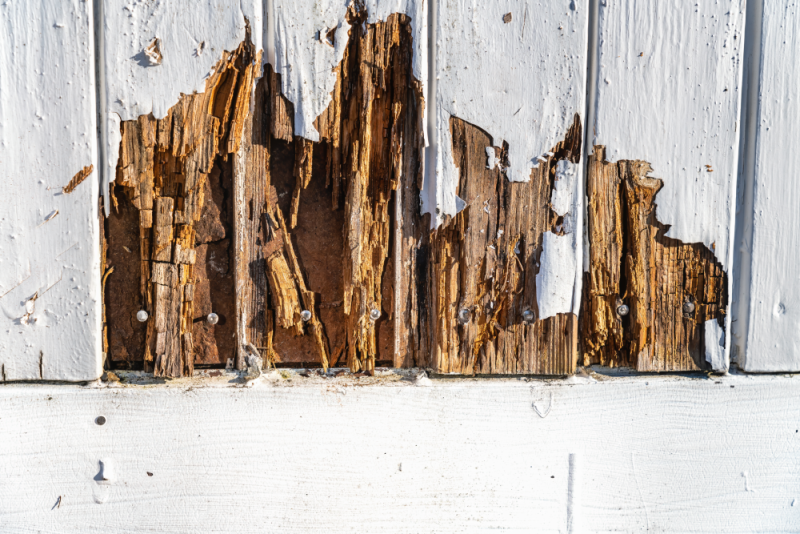
When to Replace the rotted sections of wood trim?
If the bottom of a trim board is rotten, this might be the best option. Flat and square trim is more straightforward to replace and match than moulded trim pieces. Also, rotted bottoms of corner boards or splashboards are easy to cut away and change out.
When it comes to punky doorsills or windowsills, they may need repair using epoxy. As mentioned in our upcoming section – so replacing them is likely your most suitable bet!
Reviving a rotted board is easy! First, mark the face of the board with a line 6 inches above the damaged area. Then, adjust your circular saw blade to match its thickness and use a Speed Square to guide it as you make an exact 90° cut.
Wear approved safety eyewear and use a demo blade to detect hidden nails. The new trim board must match the original piece’s thickness and width. In the best-case scenario, the replacement piece will also be of the same type of wood.
A biscuit joiner can cut biscuit slots into both ends of the boards to attach them.
Carpenters and woodworkers use the term “dry fit,” which refers to test fitting. The dry fit will guarantee they match up before fastening them with nails or glue.
Make sure to dry-fit everything together. After that, prime the surfaces with epoxy primer and allow them to dry.
Then use epoxy glue to hold the boards in place by securing them with a scrap screwed onto both sides. Let the epoxy cure for at least one day before you sand and paint your repair. If both pieces of wood are sound, you can glue both pieces together with carpenter glue.
When to use In-place epoxy trim repairs
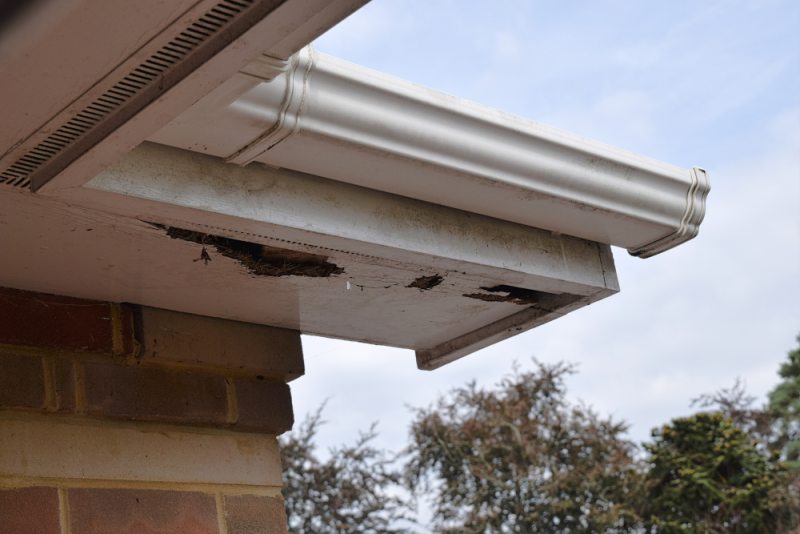
When is a good time to use an epoxy wood filler? If the area affected by rot is small or replacing trim presents an expensive challenge. The reason is it is a more cost-effective solution. This method is ideal for rotted windowsills or window sashes. A repair is preferable as replacement includes a higher level of difficulty and is more expensive.
Epoxy filler is the perfect solution for replacing shaped or complex parts. This is because it can adapt to any form, and you don’t have to spend time cutting, carving, and gluing. It’s a fast and easy way to get everything in place without getting your hands too dirty!
Our Favourite Two-component epoxy
Epoxy applications vary, so visit manufacturers’ websites for specifics. You can also get recommendations at your local home centre or lumberyard. We have a particular favourite, epoxy. We like SculptWood Putty, a two-component epoxy that requires no solvents. You can shape the putty, sand it, nail it, paint the putty… you can even stain it.
This lightweight product boasts superior strength and adhesion to many surfaces. The result is a smooth finish after sanding, matching the level of the surrounding wood. After sanding, it’s ready to paint and strong enough for screws and nails, if required.
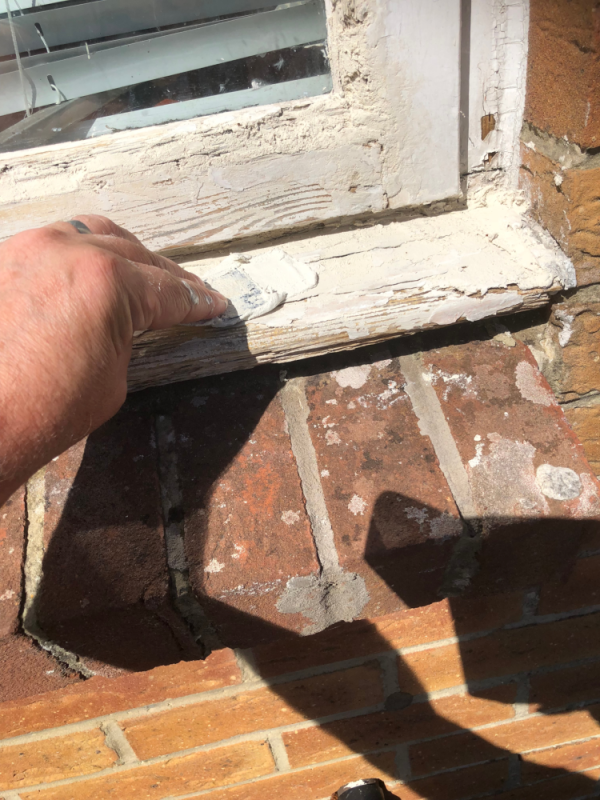
If some of your wood is loose and crumbling, grab a chisel to dislodge it. Then use a shop vacuum to clean away any loose debris. The wood must be dry before proceeding to the next step. You don’t need to remove all punky wood, only the loose material. The next step is reinforcing the soft, punky bits by saturating them in liquid two-part epoxy!
Drill holes to insert the resin.
For a better result, drill several holes and fill the holes with liquid epoxy. Once the resin sets, the rotted wood will be as good as new.
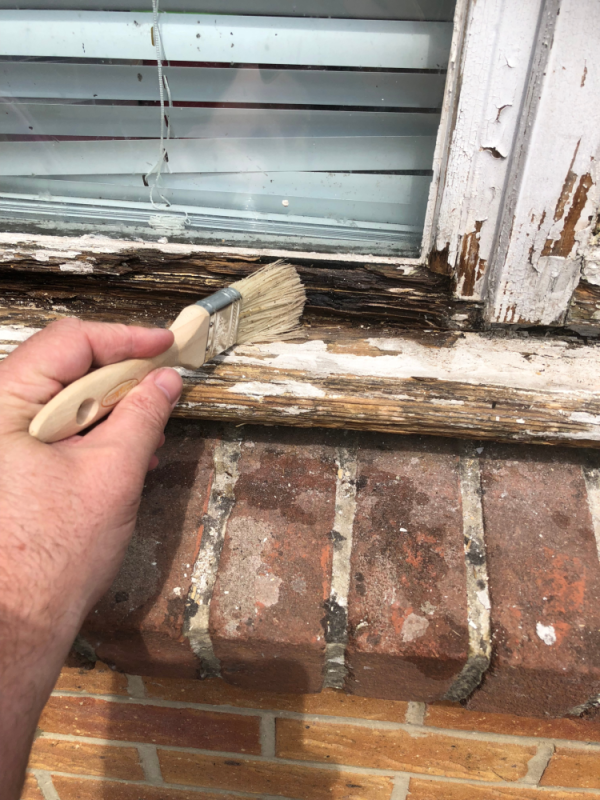
For a long-lasting solution, use Rot-Fix before the epoxy.
After brushing off debris, inject a liquid consolidation into the wood until saturated. We prefer to use Rot Fix. Rot Fix is a two-component epoxy that saturates the area before you apply the putty. The Rot Fix doesn’t need to be dry; you can apply the filler right away!
Smooth and compress the filler using a taping knife. Tack galvanized metal to the sill, which serves as a screed strip. You use it for levelling purposes to keep the putty in place while it dries.
Pro Tips
Apply the epoxy filler using a putty knife. Use your hands to shape the material to match existing contours. This is more comfortable and efficient. For safety reasons, protect yourself by wearing disposable gloves during application. Discard them after you have placed and shaped the epoxy.
Use white vinegar to clean your putty knife from any of the components of the Sculptwood.
Use a rag to wipe off the excess and dispose of it in the garbage.

Repair rotted trim: Ask for Professional help!
Renaissance Solutions Painting & Carpentry can help restore or replace your wood trim. We can also finish the trim with paint or stain, as needed. We use specialized techniques to ensure a perfect finish and are always happy to provide you with an estimate for our services.