Bubbled paint is called ‘paint blistering’ — when the paint film lifts from the surface below it, causing bubbles or blisters.’ You’re not alone if you’ve ever noticed paint blistering on your interior walls or ceilings. It is a common problem caused by various factors, including heat, excess moisture, humid weather, improper painting techniques, and even the type of paint used.

While paint blistering may seem like a minor deal, it can lead to severe problems if left unaddressed, like paint start peeling. This blog post will closely examine what causes paint blistering and what you can do to fix it.
Paint bubbling: It’s unsightly and can be hard to clean
Paint bubbling, also known as blistered paint, is an unsightly problem that can be difficult to clean. Paint bubbles form when a layer of fresh paint is applied over a wet primer or uncured surface, in other words, from a loss of adhesion and lifting of the paint film from the underlying surface. As the new layer dries, gas pockets are trapped underneath the paint and cause it to rise in bulges.
Paint bubbling is visually unappealing and can be incredibly time-consuming and tedious to try to remedy the issue. Taking the necessary steps to ensure proper preparation before a painting project can help avoid this frustrating problem.
The bubbling of paint is commonly caused by…
Combine oil-based and latex paint
It’s usually best to use oil-based paint when painting over a previous oil-based paint job. Applying latex paint over oil-based paint will likely cause the new paint to bubble and not adhere well because the two formulas don’t work together well.

Using inferior or old paint
Old paint may have been stored in hot environments, which can cause bubbling when applied to a wall because the oils and other ingredients won’t mix properly with the new layer of paint and will separate during drying.
Similarly, cheap paints containing fewer binders may need adequate adhesion, leading to bubbling.
Not preparing your surface properly
Proper surface preparation is essential before applying a new coat of paint. Any dirt, oil, grease, or other foreign substances on the wall must be removed beforehand to ensure a good bond between the existing and new paint layers. If these steps are not taken, bubbling can occur after the paint dries.
Bubbling paint caused by a roller cover
If your paint is bubbling and you can’t figure out why, it might be because of your roller cover. Using the wrong roller material or nap length for the surface you’re working on can cause poor paint adherence and bubbles. For smooth or semi-smooth surfaces, use a foam or short nap roller cover and a long nap roller cover for particularly rough surfaces. A medium nap roller cover is recommended for moderately uneven surfaces like stucco.

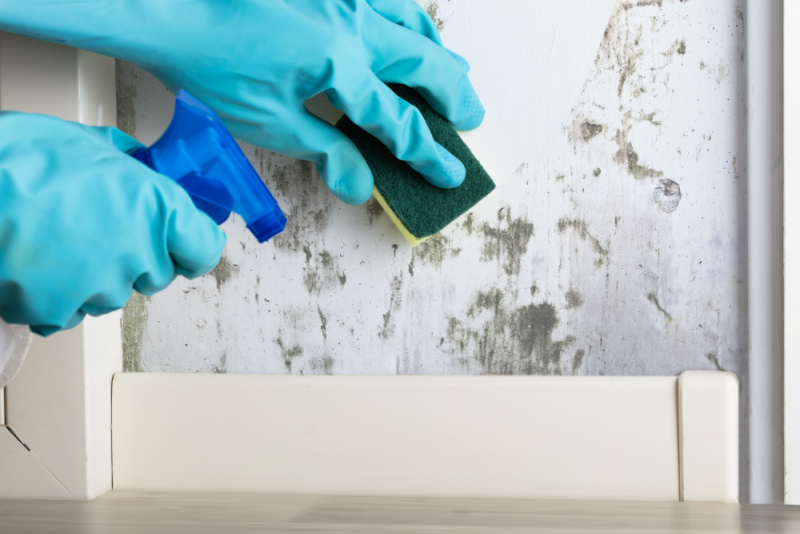
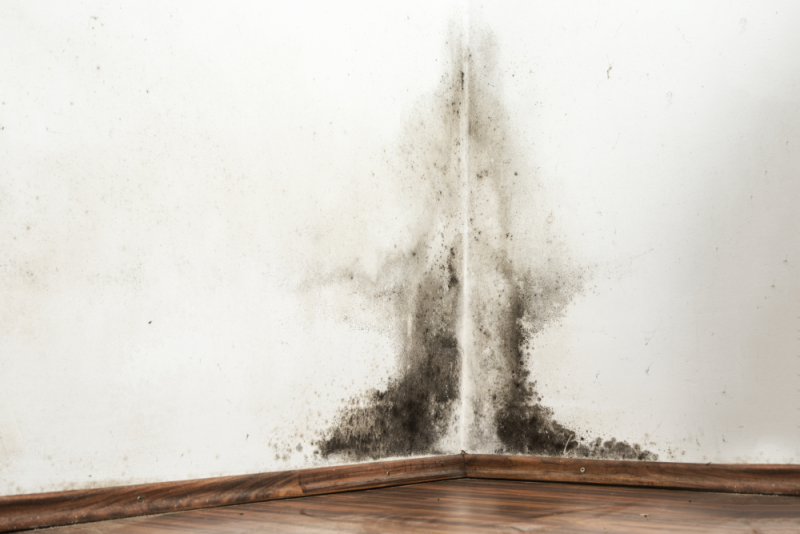
Paint over a moulded area
Though it may seem like a good idea, painting over mould does not fix the problem. The mould will continue to grow and spread even after the paint has dried. Applying a paint coat over a moulded area, you’ll first need to clean the surface and then sand it down so the paint will adhere properly. Once you’ve done that, you can go ahead and paint over!
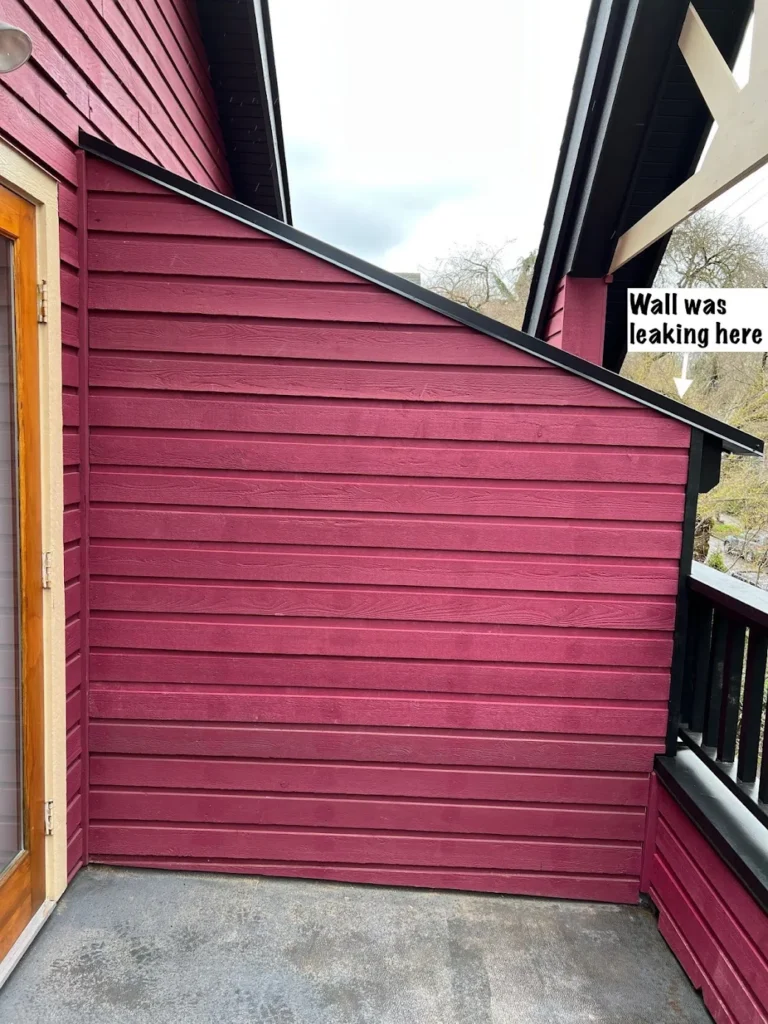
Paint blisters could be a sign of a bigger problem: Water damage
If you notice patching compound bubbling or paint peeling on your wall, it might signal that something more serious is happening behind the surface. High humidity can damage walls if not taken care of quickly and can indicate water damage to the internal structure of your home.
When patching up walls, make sure to dry them completely beforehand—any hint of moisture left behind can cause further harm later down the line. Paying close attention to high humidity levels in particular areas of your house may help you see the warning signs before they become a costly repair project.
Blisters or bubbled paint: Not anymore!
Solving blistering paint problems
If bubbling paint is an issue, don’t fret! You can take the proper steps to repair the bubbled areas and eliminate this annoying problem.
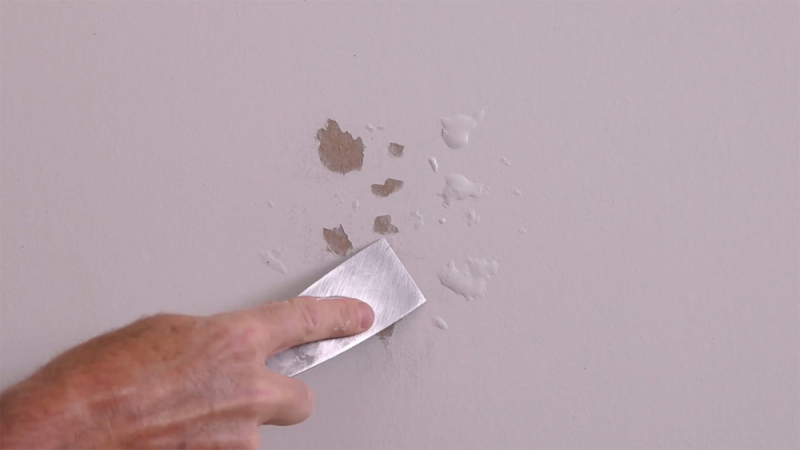
Get rid of paint bubbles by removing all the paint before you can repaint
Before you can repaint a wall, thorough preparation is an absolute must. The first step is removing as much old paint as possible. Caulking around windows and doors may also need repair; use appropriate fillers and repair materials. If blisters go down to a previous coat, remove all loose paint (by scraping or other methods), and lightly sand the surface to create smooth edges.
When all repairs have been done, ensure that all paint from the previous layer has been completely removed; it will not only improve the look of the new paint layer but also help prevent peeling. If the surface is still slightly damp from repair work or drips, let it dry before you begin painting—paint doesn’t adhere properly when applied on wet surfaces.
Consider a primer sealer or stain blocker
Achieving a perfect paint application requires precision and accuracy. If you want to apply a new coat of paint over multiple layers of old paint or stain, first use a primer sealer or stain blocker, to avoid paint losing its adhesion. Applying a base coat before painting will ensure that the new paint sticks to the surface better. Taking these precautions will mean you get an excellent even finish which lasts longer too!
Alkyd paint
Alkyd paint is an enamel finish that usually has a shiny appearance and does not require oil to adhere to the surface, unlike other types of finishes. Even though it is similar in consistency to oil paints, it has the following characteristics:
- Dries faster
- Is more durable
- Adheres better to surfaces
Professional painters use alkyd paints primarily on special surfaces where a different type of chemical binding is needed or on specific areas where durability and finish are important like doors, cabinets, floors, trim, furniture and commercial wall coverings.
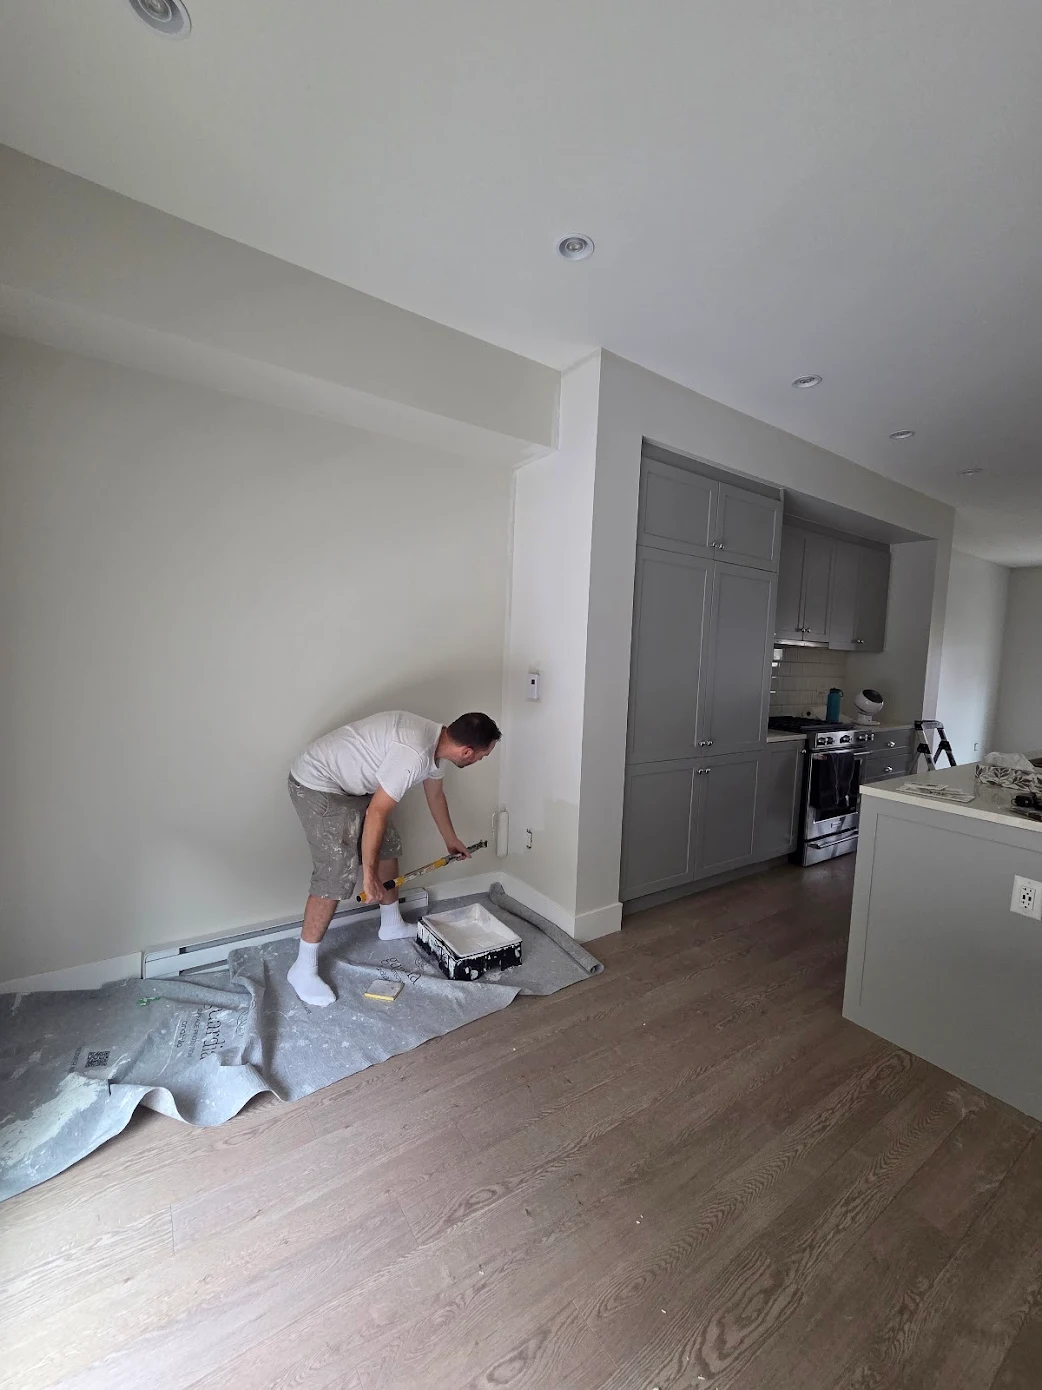
Hire a professional
When it comes to home improvement, there is a certain level of expertise required for many tasks. If you are hesitatingly staring at horizontal strokes on bare drywall or other projects, it may be time to stop and consider hiring a professional.
Unless you have acquired the right tools, knowledge, and techniques to carry out a project like sanding drywall lightly while wearing a dust mask, trying to go it alone could cause more problems than it fixes. So before learning everything needed to become an expert handyman or woman, consider just getting help from an experienced professional.
Nobody wants to look at a wall with streaky or mottled paint. If you’re considering repainting your home or a room, strip the old paint completely before adding new paint. Hiring a professional is always the best option if you need more confidence in removing all the old paint and prepping the surface for painting.
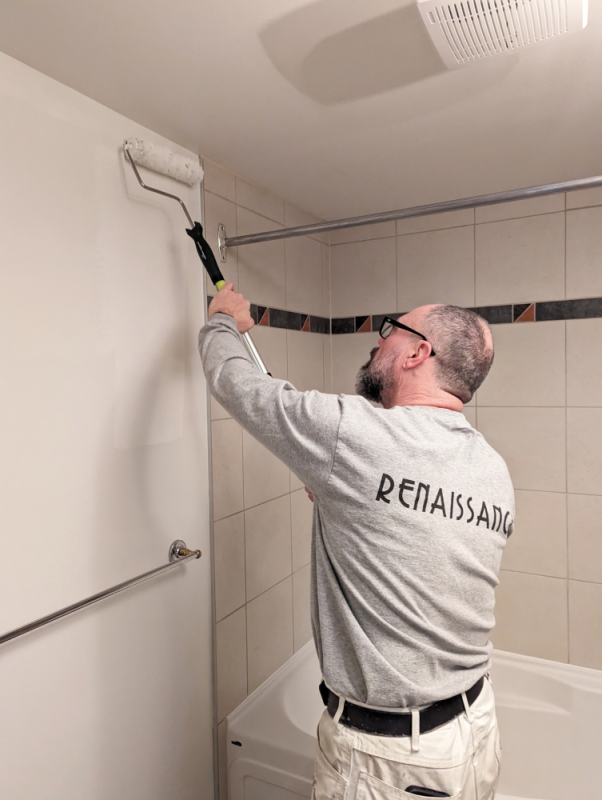
Uneven paint could also be a sign of a bigger problem, like water damage, so it’s best to get it checked out by a professional as soon as possible. Contact us today at Renaissance Painting and Carpentry if you want to make your home something special. We would love to help turn your vision into a reality.