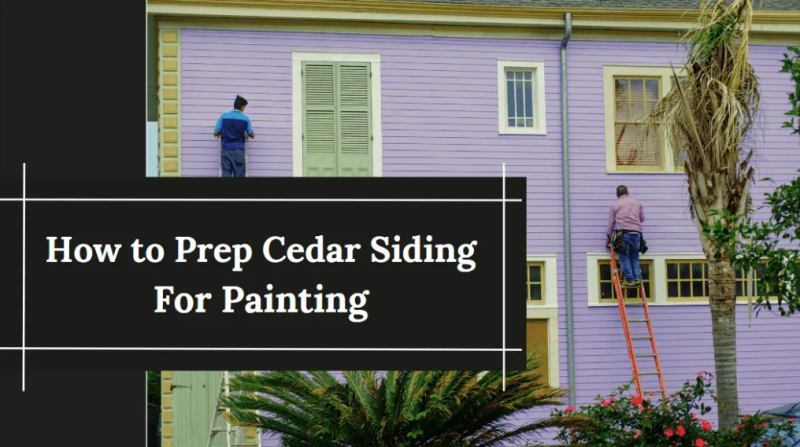
Cedar siding is a popular choice for homes in Vancouver due to its beautiful woodgrain and natural resistance to the elements. Western red cedar and other cedar products are also incredibly long-lasting: it’s not unusual for cedar shingles and siding to last for several decades – even hundreds of years.
Still, your siding is going to need a paint job at one point or another. You may have a new colour in mind for your home’s exterior, or you just want to refresh the existing one.
No matter the reason, painting your siding can completely transform the look and feel of your entire home.
The catch is that painting cedar siding, especially old and worn siding, can be complicated. The painting is the easy part – the bulk of the work lies in the preparation.
In this article, we’ll walk you through how to prepare for a cedar siding paint job, and why it’s actually the most critical part of the process.
Why Surface Preparation for Siding is Not a DIY Job

Painting wood siding is one of our favourite types of projects. It’s magical how a new coat of paint can breathe new life into worn-out wood siding!
Unfortunately, too many people underestimate the work it takes to prep-painted cedar.
Behind every beautiful siding paint job is a massive amount of prep work.
It’s not just about aesthetics – siding is one of the most important parts of a Vancouver home. It’s the first line of defense against the elements, keeping moisture out and protecting the structure from our crazy weather conditions. It also helps insulate houses and reduce energy costs.
Proper preparation before new paint or stain boosts these benefits.
Working with extremely weathered wood presents even more challenges. Under all that peeling paint is the result of years of wear and tear, such as mold, broken sections, and more. Those issues need to be addressed before you even pick up a paintbrush to paint cedar siding.
By letting a pro take care of the prep and new paint job, you’re investing in your home’s beauty, safety, and peace of mind.
How to Prepare Cedar Siding for Painting
With that said, let’s now take a closer look at how to prep cedar shingles and siding for a paint job. Here’s a step-by-step guide:
Checking and Identifying Siding Issues
The current state of your cedar siding will dictate the amount of work required. Every issue discovered during the inspection needs to be resolved before the actual painting can begin.
For example, our team carefully checks the bare wood for any sign of rot or decay, such as discolouration, soft spots, and cracking. We also look out for wood-boring insects like termites, carpenter ants, and wood wasps. If they’re present, you may need to call in an exterminator.
We also check for structural problems such as loose nails and warped or damaged boards. Finally, we inspect the siding for areas that need scraping or sanding due to peeling paint layers or rough patches.
Repairing Damaged Siding
Once all the issues are identified, it’s time for the repair work. Here’s a look at some of the most common repairs that come up with old cedar siding:
- Fixing Caulking
Caulk damage around windows and doors is a typical part of prepping cedar siding for painting. This is because the caulk can break down from UV rays, wind, rain, and extreme temperatures.
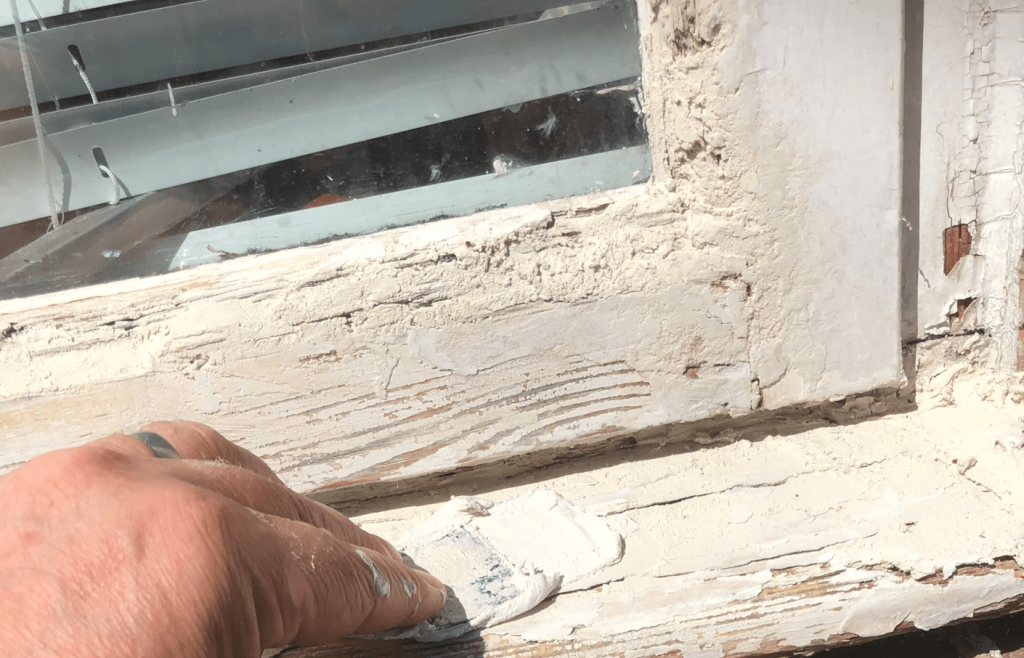
To fix this, you’ll need to scrape out the old caulk and replace it with fresh caulking that’s designed for outdoor use. You’ll also want to check for any other cracks or holes in the wood itself and fill them with wood filler before sanding them to a smooth surface.
- Filling In Gouges and Scratches
Cedar siding might also need some touch-ups if it has been scratched or gouged over time. For these areas, we recommend using an epoxy paste called Sculpwood Paste from System 3. This is easily applied over the area and can be smoothed out by sanding. The tricky part is mixing the paste and cleanup. Make sure you wear gloves and a good dust mask.
- Replacing Sections of Wood as Needed
Finally, you should assess whether any boards on your siding need to be replaced entirely due to rot or other major damage. Some wood is so far gone that it needs to be replaced with new wood.
It’s important to be very careful when removing them so that adjacent boards aren’t affected. This makes it easier to replace them by measuring and cutting new pieces of cedar siding that fit into place perfectly.
Again, these are only a few of the possible repairs involved in the prep work. That’s why a thorough inspection is so important at the beginning – it will give you a complete picture of how much TLC your current siding will need.
Pressure Washing & Cleaning the Cedar Siding
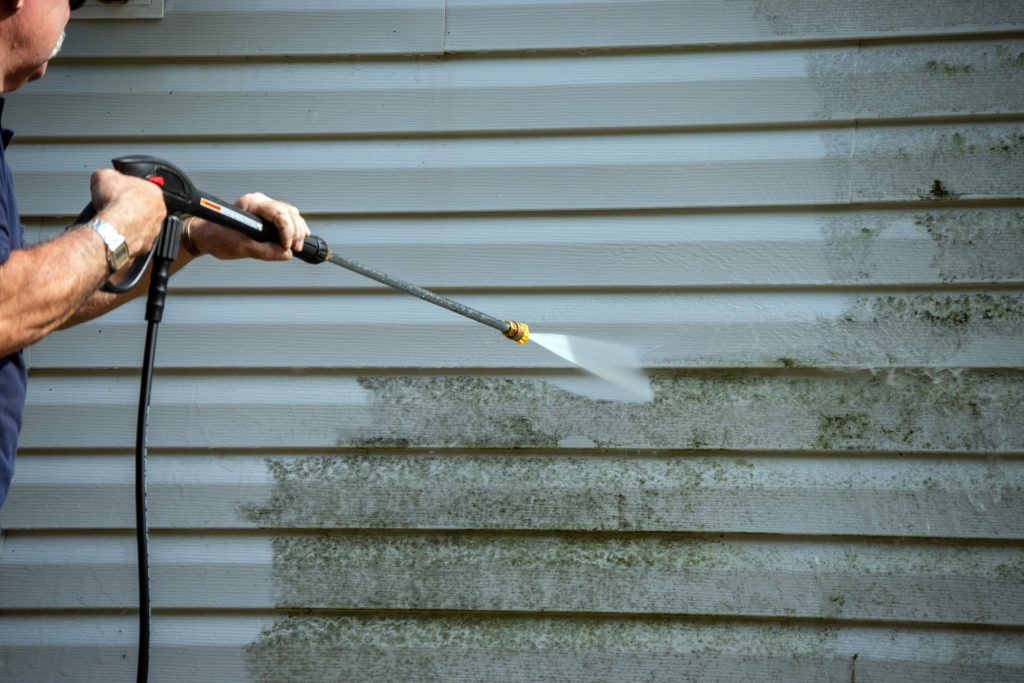
Your cedar siding is exposed to the elements 24/7 – of course it’s going to get dirty!
Your cedar siding is likely contaminated with everything from bird droppings to accumulated dust, grime, spider webs, leaves, and other debris.
You’ll want to clean every bit of it off to ensure amazing results for your newly painted siding.
Pressure washing is one of the most effective ways to do this, but it needs to be done very carefully.
For instance, hitting the windows with the blast can break them; too much pressure can also gouge the wood, especially older siding. Cedar is a soft wood and can be easily damaged by pressure washing. Best to turn the pressure down.
You may want to apply a mild detergent solution to the areas then scrub with a soft-bristled scrub brush. You can then use the power washer to do a “power rinse”.
And of course, unless you are experienced you should never pressure wash while standing on an extension ladder because the recoil can knock you off the rungs.
As for the pressure washing, it may require a few passes before every nook and cranny is completely clean. Once that’s done, the cedar siding is ready for the next step.
Sanding, and More Cleaning
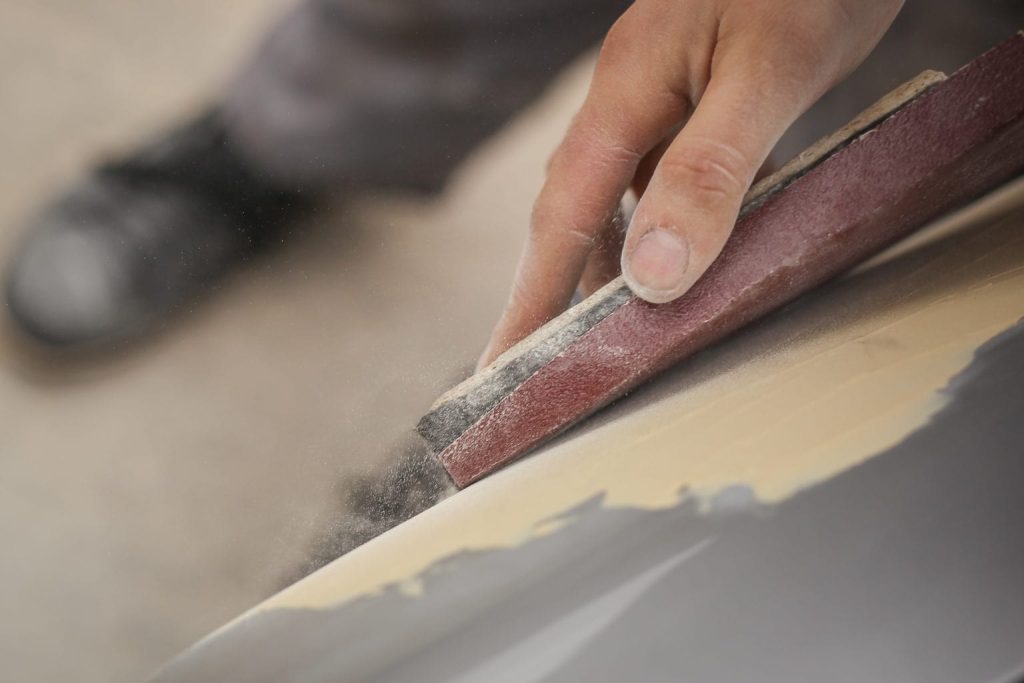
Sanding cedar siding removes existing loose paint or varnish. It also smooths out rough spots, and creates a better surface for the primer and paint to adhere to.
Using a random orbital sander is an excellent way to do this. This type of sander moves in an elliptical and circular pattern, which makes it ideal for sanding wood surfaces like your cedar siding.
Depending on the state of the siding, a coarse-grit paper (60 to 80) is usually a good option to start with, then work up to a medium-grit paper (100 to 120).
The sander must keep moving in all directions – side-to-side and up-and-down – so avoid creating any deep scratches. A random orbital sander achieves the best results. They are now being made battery-powered and are easy to use. You will get a better finish using an orbital sander as it is moving in a random pattern so it does not gouge the wood.
Once the siding has been sanded down, it’s good practice to wipe it down with a damp cloth or do a light rinse with a hose. This will remove dust particles, and once the surface is dry, the siding is ready for priming.
Priming the Cedar for Painting
Primer is a special type of paint that goes under the top coat of paint. It helps the paint stick better and last longer, as it seals the wood surface and creates a stronger bond between the paint and the wood.
Using the right primer also matters for cedar siding. An oil primer is the best choice for cedar siding, especially for raw wood. It lasts longer, sinks deeper into porous wood, and provides better protection..
Water-based primers simply don’t have this level of performance versus oil-based stain-blocking primers.
Finally, priming the siding before painting will help you achieve a smoother finish. This is because oil-based primer can fill in some scrapes or divots in the wood, providing a uniform base for the paint to adhere to. Without this step, your finished cedar siding may have an uneven look with visible brushstrokes or marks from sanding.
Notes:
- . Bare areas should get a full coat of primer. In some cases, it may be necessary to touch up some areas after the first coat has dried.
- Using a paint sprayer can make quick work of primer application. You need to make sure that you backroll and/or back brush the primer after spraying.
- Primer needs time to dry before you can move on to painting. This can take up to 24 hours depending on conditions such as temperature, humidity level, and air movement.
Trust Only the House Painting Experts to Beautify Your Siding
[s201_bai id=”2″]
A fresh coat of high-quality paint or exterior stain can bring out the natural beauty of your home. This goes double for your siding – it’s part of the first impression and curb appeal your home makes for anyone passing by.
Equally important is a painting project done right from preparation to finish for paintwork to last for many, headache-free years.
At Renaissance Painting, we specialize in painting all types of exterior siding, from cedar, Hardiplank, stucco to vinyl siding and more.
We can also handle any type of painting project, whether you want to bring out the natural appearance of wood with a solid colour stain, semi-transparent stain or want the best paint to match your landscaping.
Expect us to treat your home like our own!
As a valued client, you can expect:
- A thorough and meticulous approach to the entire process
- Expert guidance and advice throughout the project
- A stress-free experience, knowing your siding is in good hands
- Transparent pricing
- A stunning, long-lasting paint job that enhances your home’s curb appeal
Contact us today for a free quote and tell us what you have in mind.
In the meantime, browse our gallery – check out the quality of our work and get inspiration for your own home!
Frequently Asked Questions
Does cedar siding need to be primed before painting?
Yes, bare cedar siding needs to be primed before painting.
Primer seals the wood grain, which prevents moisture from seeping in and causing rot or mildew. It also provides a better foundation for the paint to adhere to. Without primer, the paint will be more prone to fading, cracking, and peeling.
Should you power wash cedar siding before painting it?
The short answer is yes. Pressure washing is the most effective way to remove dirt, mildew, and other contaminants from your cedar siding before you paint it. Make sure that you use low pressure as cedar is a soft wood and can be easily damaged.
Without cleaning the surface, the paint won’t stick properly, leading to premature peeling. These contaminants can also compromise the integrity of the wood from within.
Do you need to sand cedar siding before painting?
Yes, you need to sand before painting cedar siding. It helps smooth the surface and fix imperfections. This prepares the siding for a better-looking finish when painting. Areas that have failed need to be scuff sanded, which is the process of lightly scuffing the areas, usually with medium grit sandpaper.
How do you clean cedar siding for painting?
When it comes to cleaning cedar siding for painting, a power washer is a good way to go about it. The most important thing to remember is that the siding needs to be clean. So, keeping that in mind use what you have and what makes sense.
Power washing uses high-pressure streams of water that can quickly and efficiently remove dirt and debris from your siding. This can save you a lot of time compared to manually scrubbing it with a brush on an extension pole, bucket, and mild detergent. Make sure that you turn to pressure down or use the wand a distance from the wood.
Power washing can also be dangerous due to the pressure of the water. Make sure that you follow all safety procedures, wear safety gear and use common sense.
Other tools like a paint scraper to take off old paint can also come in handy.
Can you paint old cedar siding?
Yes, you can definitely paint old and worn-out cedar siding! It’s a bit more involved than painting brand-new siding, but with the right preparation and the best paint, even the oldest siding will look good as new in no time.

